창립자에게 문의하기
아직도 궁금한 점이 있으신가요?
저희 창립자와 직접 연결하세요. 가격이든 기술적인 세부 사항이든 명확한 답변을 받고, 첫 주문을 위한 독점 ‘창립자 보너스’도 받아보세요.




900명 이상의 만족 고객
🏆 1,000건 이상의 맞춤 프로젝트를 성공적으로 납품했습니다.

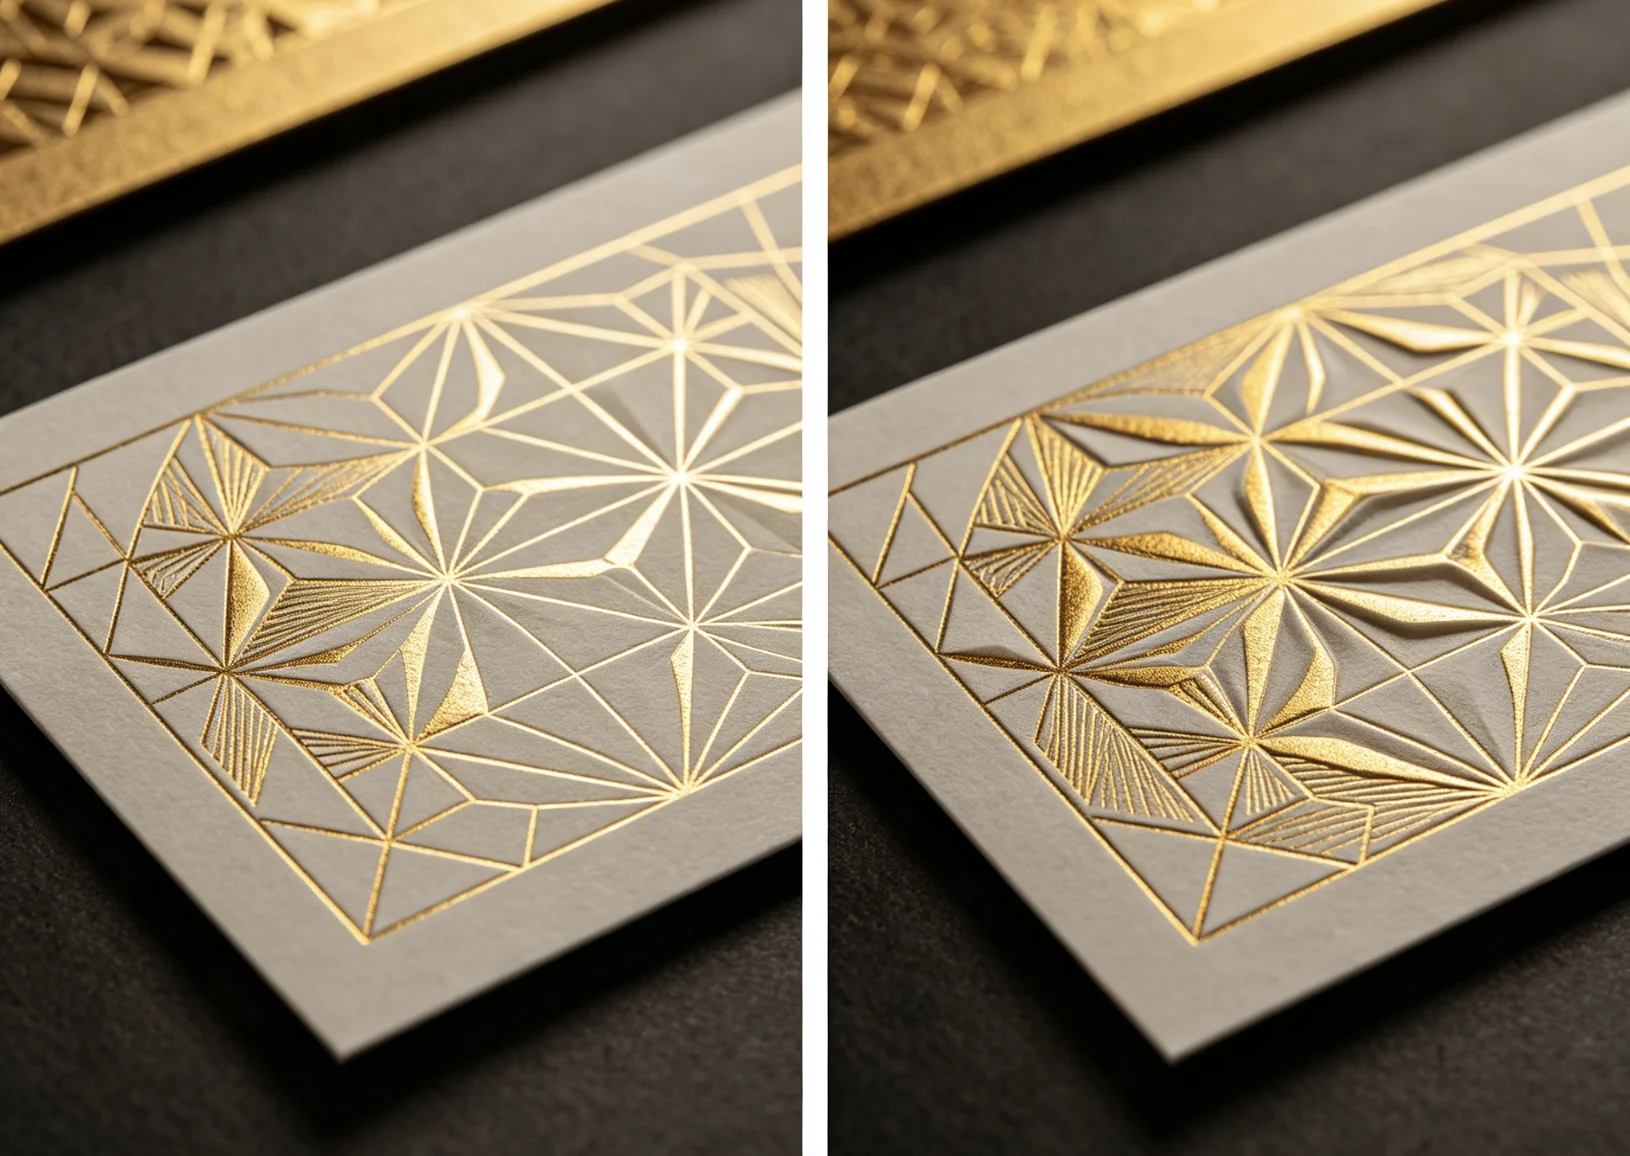
Most of the time, no. If your logo is simple, your material is stable, and your die is well made, one clean foil-stamping pass is usually better than doing the job twice.
Pre-embossing before foil stamping only helps when you need extra depth, a nested foil pocket, or a deliberate 3D effect. It can improve the look of some book covers, packaging pieces and rigid paper stocks. On soft leather or stretchy covers, though, it can also make registration harder and increase foil bleed.
This article is for leather crafters, bookbinders, stationery makers and packaging teams deciding whether to emboss first then foil stamp, or switch to a better die and machine setup.
Use pre-embossing when you need more depth, better visual separation, or a raised look before the foil pass.
Skip pre-embossing when you need speed, repeatability, fine text clarity, or when the material is soft and can move between passes.
If you want both depth and foil in one setup, a 3D relief brass hot stamping die on the right machine is often cleaner than two separate steps.
Practical rule: If the problem is design depth, pre-embossing may help. If the problem is foil transfer quality, fix the foil process first.
Pre-embossing means pressing the design into the material first, then adding foil in a second pass. The first pass creates a shallow raised or recessed shape. The second pass transfers the metallic foil into or across that formed area.
This is different from blind embossing, where you stop after the first press and leave the mark without foil. It is also different from one-step 3D embossed foil stamping, where a relief die and press are designed to create the depth and the foil effect together.
In practice, pre-embossing is a workflow choice, not a rule. It is a way to create more structure before the foil pass.
| Term | What it means | Typical use |
|---|---|---|
| Blind embossing | Pressing a texture or logo without foil | Paper seals, stationery, minimalist branding |
| Pre-embossing | Pressing first, foiling second | Some book covers, leather logos, special effects |
| 3D embossed foil | Depth and foil in one planned setup | Luxury packaging, premium book covers |
| Debossing | Pressed down into the material | Leather, paper, packaging, cover decoration |
For a broader overview of process choices, see Embossing vs Foil Stamping vs Heat Branding.
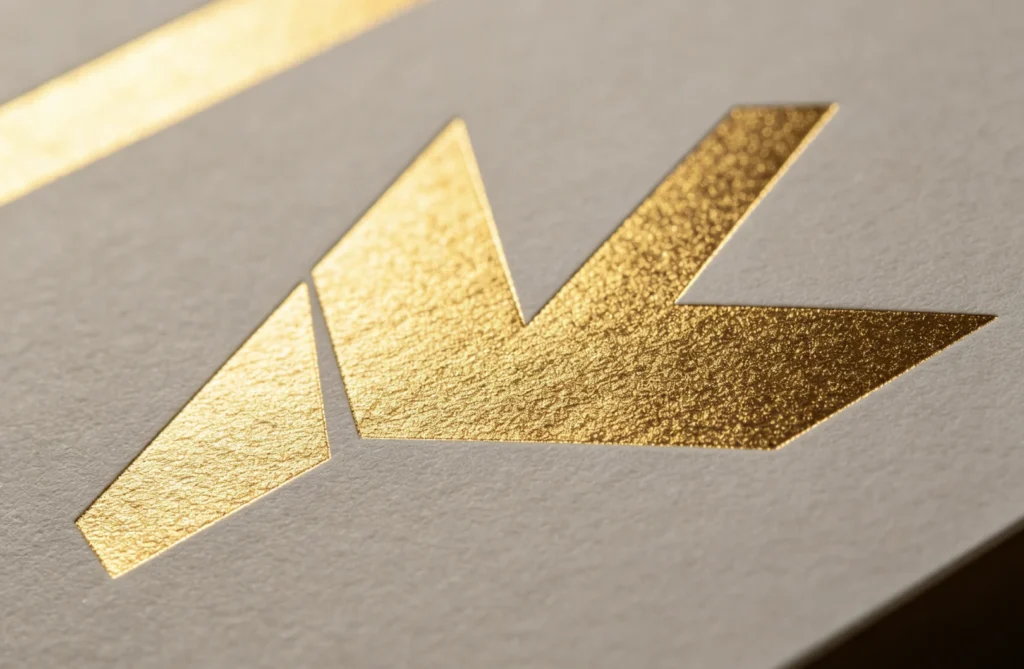
Pre-embossing is useful when the foil needs a little more structure to sit cleanly, or when the final look should feel deeper and more tactile.
Book covers often benefit from extra depth because the title needs to stand out visually and by touch. A shallow first press can make the second foil pass look more intentional, especially on cloth, leather, or thick cover stock.
For cover work, the article on book cover foil stamping temperature and die guide is a good companion read.
Some logos simply look better when the foil appears nested into a formed area instead of sitting flat on the surface. This is common for luxury packaging, formal stationery, and premium presentation pieces.
If your target effect is raised and decorative, a YTJ-5T 유압식 핫 스탬핑 프레스 paired with a relief die is often a better route than a manual two-pass workflow.
Open logos, frames, monograms and border marks often benefit from a first press because the shape gives the foil pass a clear visual boundary.
This is more helpful when the logo has larger outlines and simple negative space. It is less helpful when the design is tiny, crowded or full of thin text.
For sample development, a two-step workflow can help you see the pressed shape before you commit to a full production setup. That is useful when you are checking artwork size, line weight, and overall impact.
For custom die preparation, see 가죽 로고를 위한 맞춤 황동 스탬프: 어떤 파일 형식이 필요합니까?.
Two-step stamping adds one more variable. If the material shifts, the second pass can make the result worse instead of better.
Leather, especially softer or stretchier leather, can shift after the first press. If the cover flexes or the material relaxes, the foil pass may no longer land exactly where you want it.
If the problem is already foil bleed or messy edges, pre-embossing is not the first fix. Start with process control and read 스탬프 주변에 금박 포일이 더 묻어나는 이유는 무엇인가요?.
Small letters and thin strokes do not always survive two passes well. The first press may soften the detail, and the second pass may reduce edge clarity even further.
If you are working with small text on leather, the guide on 흐릿한 가장자리 없이 가죽에 작은 문자를 찍는 방법 is a better starting point than adding another pass.
The more times you touch the material, the more chances you have for offset, tilt or uneven pressure. Two-step stamping demands a steadier jig and a cleaner workflow.
If the foil is already spreading outside the intended area, pre-embossing may only create a deeper place for the bleed to show. In that case, you usually need to adjust foil type, temperature, pressure, dwell time or die contact.
If you are producing a batch of book covers or packaging pieces, repeated handling can slow you down. A one-step relief die or better machine setup is often more efficient.
| 재료 | Pre-emboss first? | Why | Better alternative if needed |
|---|---|---|---|
| Paper and cardstock | Sometimes | Good for decorative depth and blind-first effects | Handheld embosser or single-pass foil on stable stock |
| 가죽 | Sometimes, but test carefully | Can create a pocket for foil on stable leather | Better jig, cleaner die, or one-step foil stamping |
| PU 가죽 | Often no | Material may shift or react inconsistently | Lower-risk one-pass test first |
| Book covers | Often yes for special effects | Useful for titles and premium cover styling | 3D relief die + hydraulic press |
| Packaging board | Sometimes | Helpful for premium raised effects | One-step foil or relief stamping in production |
| Wood and cork | Usually no | Heat branding is often cleaner | Custom brass branding irons |
| 방법 | What happens | Best for | Main risk |
|---|---|---|---|
| One-step foil stamping | Foil and impression happen in one pass | Logos, titles, repeat production | Less depth if the design needs more structure |
| Two-step pre-emboss + foil | First press, then foil pass | Special effects, some book covers, testing | More alignment risk |
| 3D relief die + press | Planned depth and foil in one setup | Premium packaging, book covers, luxury marks | Higher die prep needs better setup |
For larger flat work, a 618-M 공압식 핫 스탬핑 기계 gives you a 300 x 400mm stamping area, which is useful when the cover or board is wider than a small desktop tool can handle. If you need stronger pressure and a 250 x 150mm stamping area for 3D work, the YTJ-5T 유압식 핫 스탬핑 프레스 is the more fitting option.
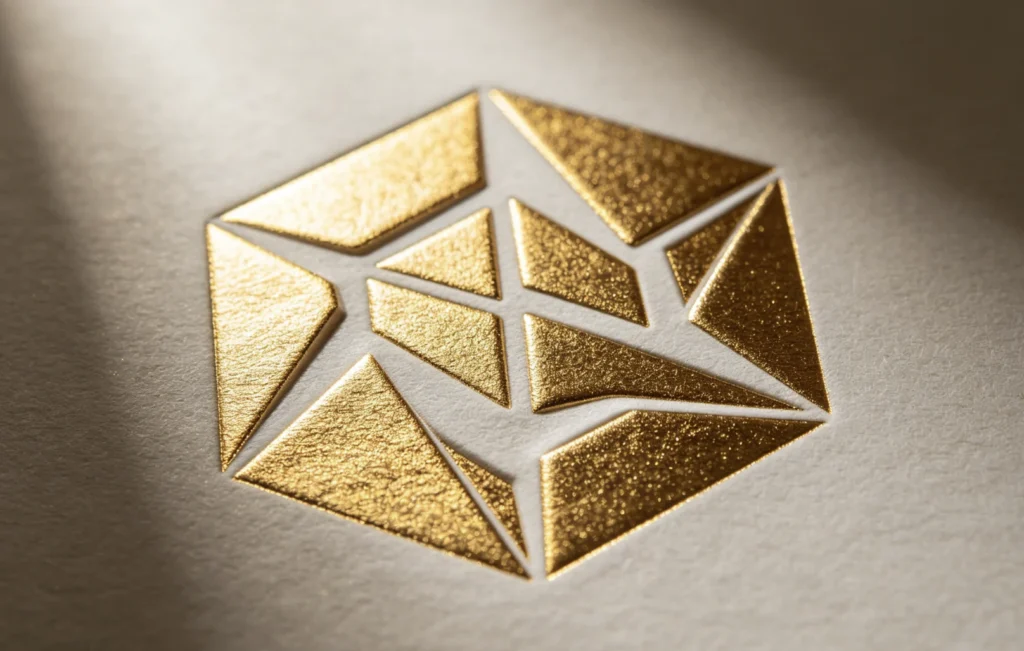
If you are not sure whether to pre-emboss first, test in this order:
Record these settings for each test:
That test log is often more useful than guessing the next setting.
For leather-bound or cloth-covered books, a shallow first press can help the title look more deliberate. It is especially useful when the cover is rigid and the logo is not too small.
Raised foil can give packaging more shelf appeal. If the pack has enough board stiffness and the artwork is not too crowded, two-step stamping can work well.
Invitation cards and presentation pieces can benefit from the tactile look of a pre-pressed area, especially when the final mark is more about elegance than speed.
On stable leather, a pre-press can improve the look of some logos. But for many leather jobs, a cleaner die and better process control are better than adding another step.
If the first emboss is too deep, the foil pass may sit unevenly or collect at the edge. Start shallow and increase only if the sample needs it.
Two passes cannot rescue a logo that is too detailed, too small or too crowded. If the artwork is the problem, fix the artwork first.
Soft leather, coated covers and flexible boards can shift after the first pass. If the material moves, the second pass is fighting the substrate instead of helping it.
Two-step work needs consistent positioning. A simple alignment jig can save more bad samples than any temperature tweak.
If the foil is spilling around the stamp, the issue is often heat, pressure, dwell time, foil or die contact, not lack of embossing depth.
Use this quick rule before you order a die:
For custom artwork that needs a deeper or more structured finish, the how much solid area can a brass foil stamp have guide is useful before you engrave the die.
No. Most jobs do not need a two-step process. If the design is simple and the material is stable, a single foil-stamping pass is usually cleaner, faster and easier to repeat.
Paper is usually safer and more predictable. Leather can work, but it moves more easily, so registration becomes harder. For paper seals, a handheld embosser can be enough without foil at all.
A properly made relief die is often the best alternative. It gives you depth and foil in one planned setup, which is usually more repeatable for production.
You can on some paper and stationery projects, but it is not always practical. If you need metallic foil after embossing, make sure the paper is stable and the second pass can register accurately.
Usually no. If foil is bleeding outside the design, start by checking temperature, pressure, dwell time, foil quality and die contact. Pre-embossing is not a substitute for process control.
For larger flat work, the 618-M 공압식 핫 스탬핑 기계 works well on paper and packaging. For stronger pressure and 3D work, the YTJ-5T 유압식 핫 스탬핑 프레스 is the better fit.
Vector files are best. AI, SVG, EPS or vector PDF are preferred. If you only have a JPG or PNG, send it for review first so the die size and line detail can be checked.
You do not need to pre-emboss before foil stamping in most cases. It is a useful technique when you want more depth, a nested foil look or a special premium effect, but it also adds registration risk and extra setup time.
If your goal is cleaner repeatability, a better die and the right machine are usually more valuable than a second pass. If your goal is a deeper 3D look, pre-embossing can help, but a planned relief die is often the cleaner long-term answer.
If you are deciding between a two-step workflow and a custom die setup, send your artwork, material photo and target effect to ZHENGFEI. We can help you choose between a simple embossing tool, a custom brass die, a 3D relief die, or a hot stamping machine.

 English English
 Japanese
 Spanish
 French
 Korean
 German
 Russian