We use cookies to ensure that we give you the best experience on our website.
Contact Founder
Still have doubts?
Connect directly with our Founder. Whether it’s about pricing or technical details, get a straight answer and an exclusive “Founder’s Bonus” for your first order.
900+ Satisfied Clients
🏆 Over 1000+ Custom Projects Successfully Delivered.
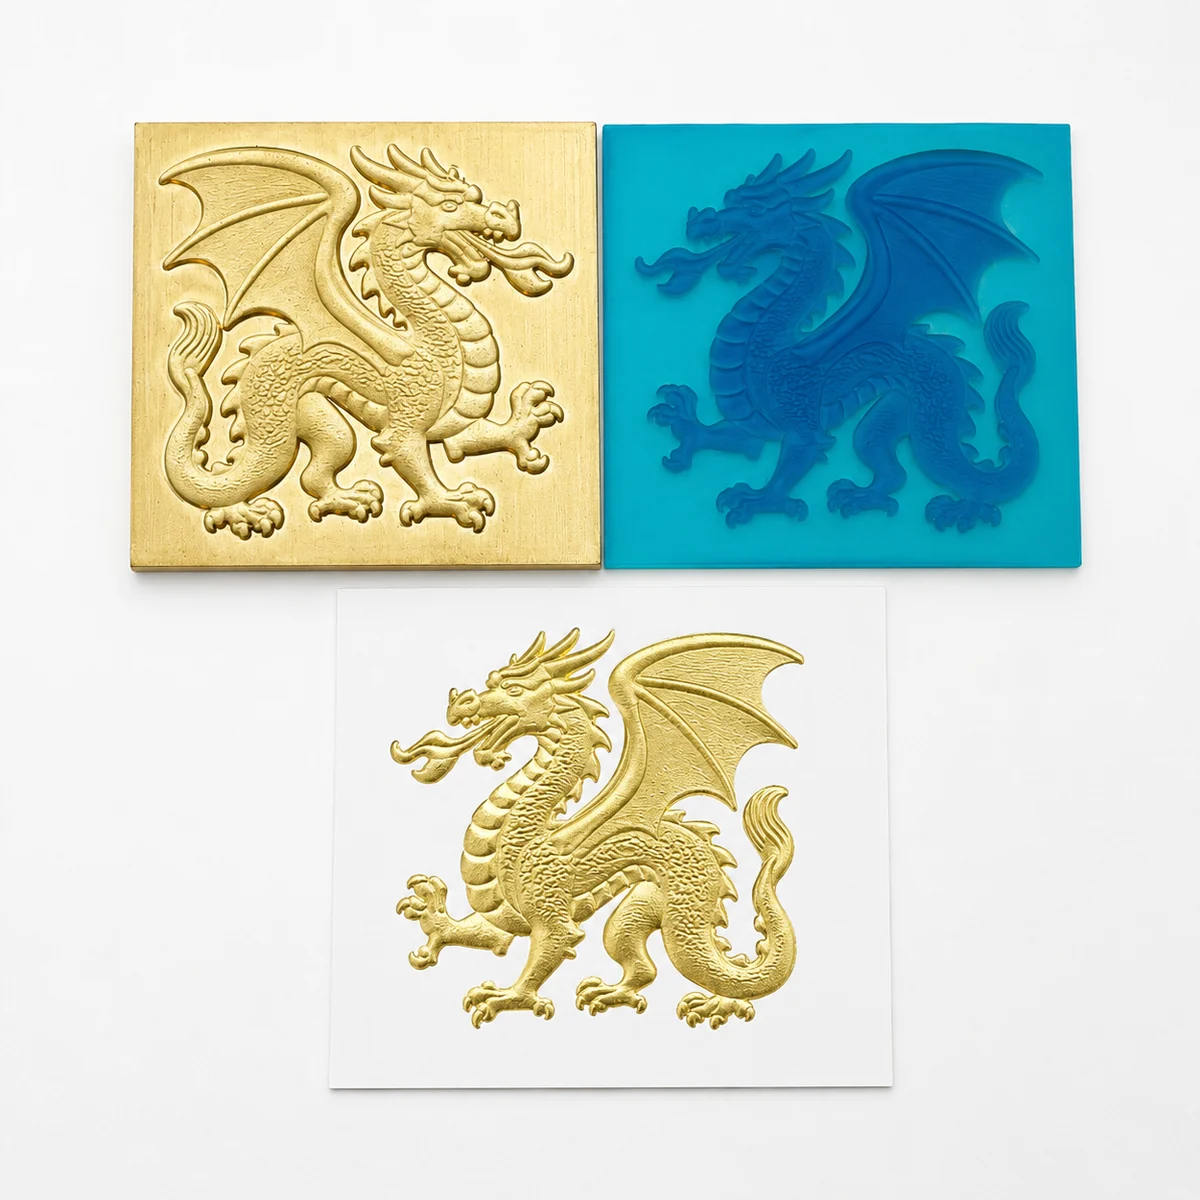
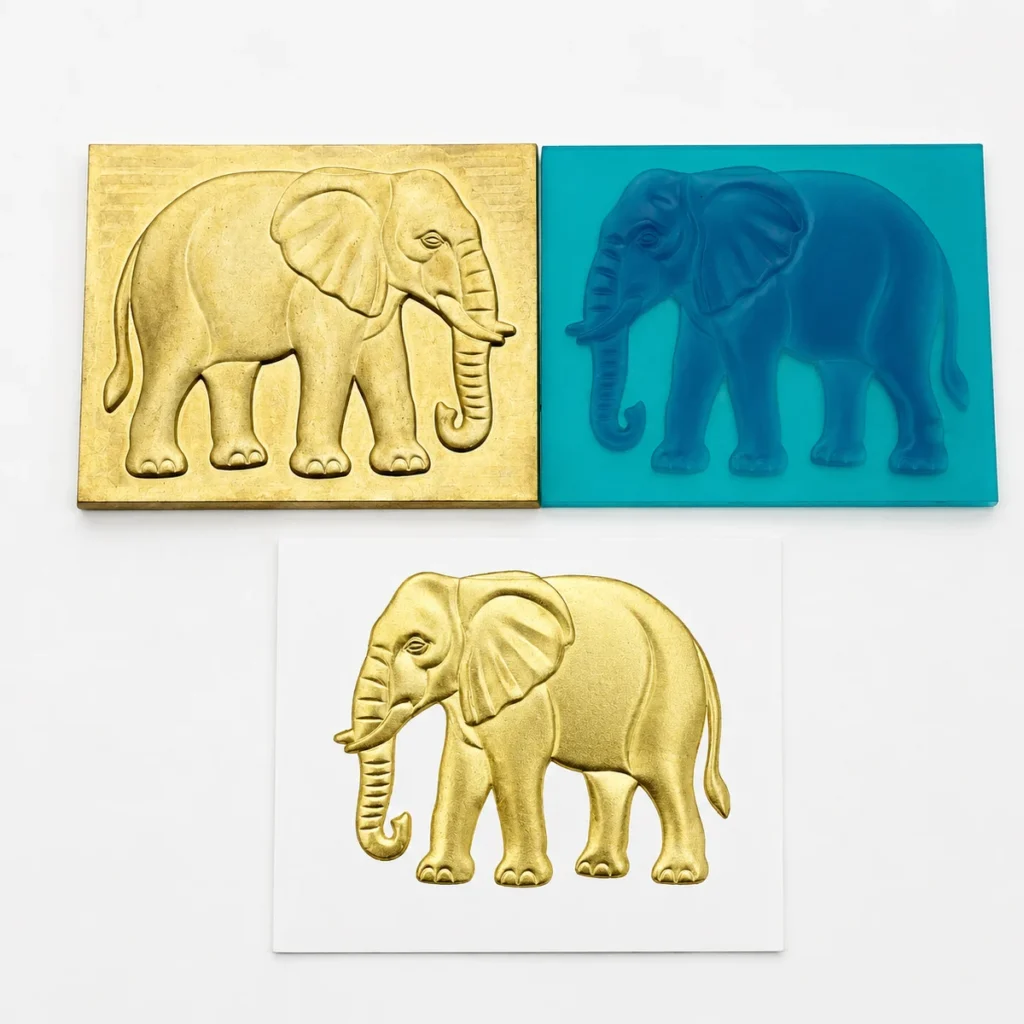
High‑precision 0.01mm CNC carved brass relief die, ideal for luxury packaging, book cover and invitation foil stamping.
Best Temperature for 3D Embossed Foil Stamping on Paper
We tested 3D embossed foil stamping on paper with a 3T pneumatic hydraulic hot stamping machine and a 3D relief die at 90°C, 100°C, 110°C, and 120°C. The best result came at 110°C for 2 seconds, with full foil transfer, clear relief depth, sharp edges, strong metallic gloss, and lower risk of paper damage.
What is the best temperature for 3D embossed foil stamping on paper? In the documented ZHENGFEI test, the best reference result came from 110°C for 2 seconds using a 3T pneumatic hydraulic hot stamping machine, a 3D relief die, y paper.
The test compared 90°C, 100°C, 110°C, and 120°C. At 90°C, foil transfer was weak and the embossed relief was not obvious enough. At 100°C, the metallic gloss and relief outline improved, but some larger designs or fine text could still show slight missing foil. At 110°C, the foil released fully, the relief depth became clearer, the edges stayed sharp, and the paper surface remained stable. At 120°C, foil transfer was strong, but the risk of edge spread, duller fine details, deeper pressure marks, and slight paper deformation increased.
This article is for packaging production managers, print finishing factories, invitation card suppliers, book cover producers, wine box manufacturers, cosmetics packaging suppliers, and luxury paper packaging brands that need raised metallic logos, decorative patterns, or high-end embossed foil effects on paper.
Quick Answer: What Temperature Works Best?
For the tested combination of 3T pneumatic hydraulic hot stamping machine, 3D relief die, and paper, start with:
Process item
Documented test reference
Máquina
3T pneumatic hydraulic hot stamping machine
Mold
3D relief die
Material
Paper
Temperature comparison
90°C, 100°C, 110°C, 120°C
Recommended reference
110°C
Dwell time at recommended setting
2 seconds
Best observed balance
Full foil transfer, clear relief depth, sharp edges, stable paper surface
Main high-temperature risks
Edge spread, dull details, pressure marks, paper deformation
Use 110°C for 2 seconds as the first sampling point when your paper, foil, relief depth, and die structure are similar. If foil transfer is incomplete, check pressure, foil type, die contact, and paper surface before increasing temperature. If the paper shows marks, edge spread, or deformation, reduce heat, reduce pressure, or shorten dwell time.
Factory‑made high‑detail 3D brass relief die, produce dimensional metallic foil finishes for luxury boxes and gift packaging.
3D embossed foil stamping combines hot foil transfer with a raised or recessed relief effect. Instead of only placing a flat metallic layer on paper, the process uses heat, pressure, foil, and a 3D relief die to create both metallic color and physical depth.
This gives the printed piece a more dimensional look. Logos, monograms, decorative frames, product names, and luxury packaging patterns can appear raised, layered, and more tactile. This effect is used on premium boxes, invitation cards, book covers, wine packaging, cosmetics packaging, luxury gift boxes, and boutique printed products.
The general embossing concept is explained in this reference on embossing in manufacturing. The foil transfer side of the process is related to hot stamping, where heat and pressure transfer a decorative foil layer onto a substrate.
The material still matters. Paper can compress, mark, deform, or lose detail when pressure and heat are not balanced. That is why 3D embossed foil stamping must be tested on the real paper stock, not only on a generic sample.
Why 3D Relief Dies Need a Different Setting Than Flat Foil Stamping
A 3D relief die does more than transfer foil. It must also press shape into the paper. That means the process must balance three goals at the same time:
Activate the foil adhesive layer enough for full transfer.
Press the paper deeply enough to show a clear relief effect.
Avoid damaging paper fibers, flattening fine details, or spreading the foil edge.
This is why 3D embossed foil stamping is more sensitive than ordinary flat foil stamping. A flat foil mark may look acceptable when the foil is complete, but a 3D relief mark also needs depth, contour, and clean transitions between raised and recessed areas.
If temperature is too low, the foil may not fully release, and the relief may look weak. If temperature is too high, the foil may transfer strongly, but fine details can become less sharp. Excessive heat can also increase pressure marks or slight deformation on the paper surface.
Comparison temperatures: 90°C, 100°C, 110°C, and 120°C
The test evaluated both the foil effect and the embossed relief effect. The main judging points were:
Whether the foil transferred completely.
Whether the metallic gloss looked full and even.
Whether the 3D relief depth was obvious enough.
Whether the edge stayed sharp.
Whether fine text and detailed patterns remained clear.
Whether the paper surface stayed flat and stable.
This matters for real packaging. A premium box or invitation card must look clean under close viewing. If the relief is weak, the product looks ordinary. If the foil spreads or the paper marks too deeply, the premium effect is lost.
Temperature Comparison: 90°C, 100°C, 110°C, and 120°C
The following summary follows the original paper 3D relief foil stamping test report.
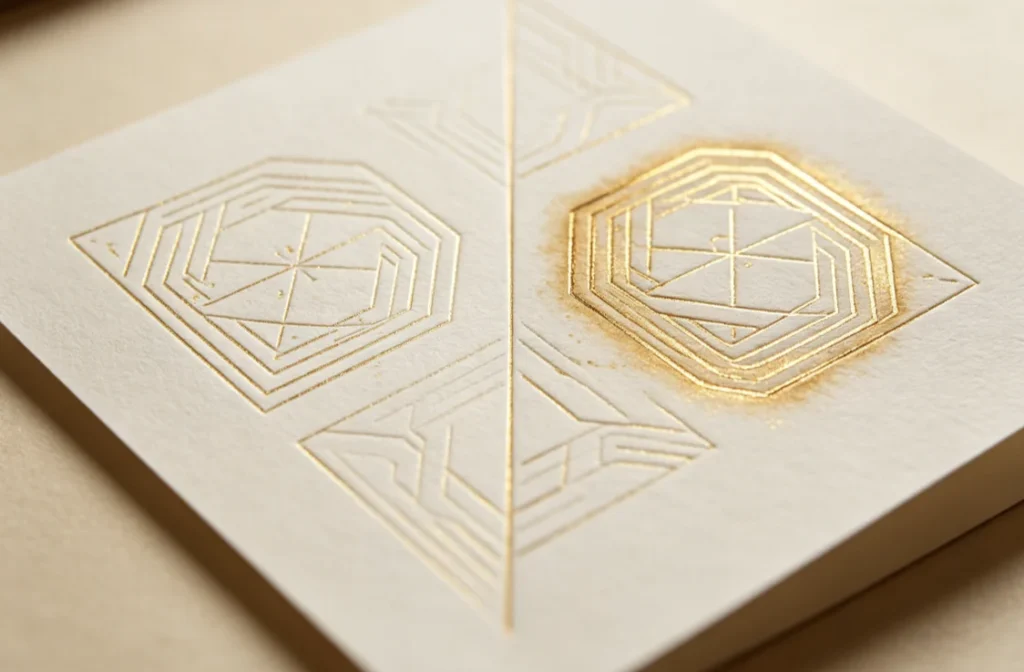
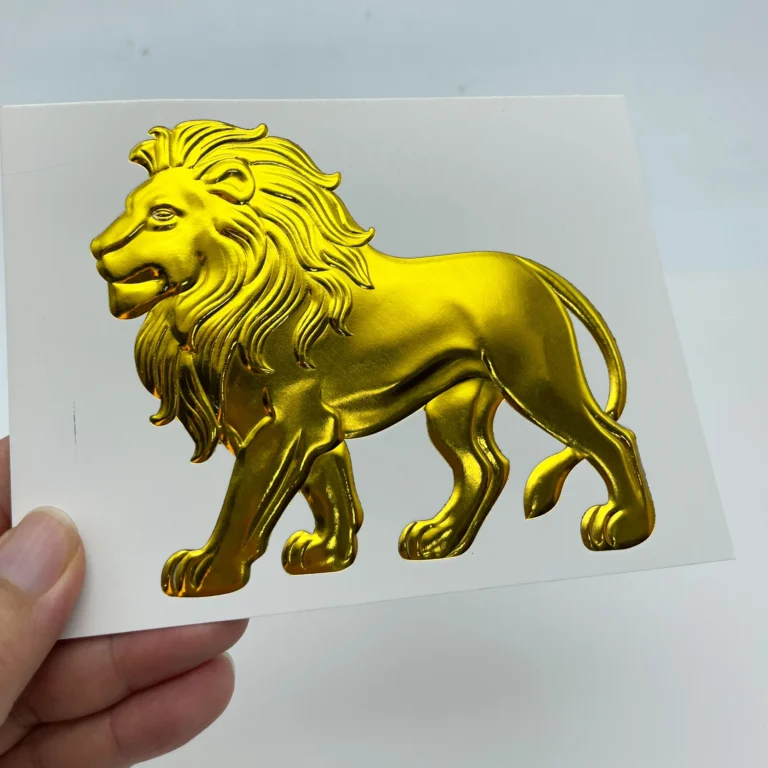
Test sample for 3D embossed foil stamping on paper; 110°C for 2‑seconds delivers clean foil transfer and sharp embossed geometry.
Temperatura
Observed transfer and relief behavior
Surface and production judgment
90°C
Foil adhesive activation was insufficient. Missing foil, broken lines, weak gloss, and weak 3D relief were more likely.
Too low for production
100°C
Foil transfer improved, gloss increased, and relief contour became clearer, but larger designs or fine text could still show slight missing foil.
Better, but not the best setting
110°C
Foil released fully, metallic gloss was full, edges were sharp, details were clear, and relief depth looked natural and stable.
Best reference in this test
120°C
Foil transfer remained strong, but paper heat exposure increased. Edge spread, dull details, pressure marks, and slight deformation became higher risks.
Not recommended as a long-run default
90°C: Too Low for Complete Foil and Relief
At 90°C, the foil adhesive layer was not activated enough. The metallic layer did not transfer completely, so small text, thin lines, and detailed areas could show missing foil, broken lines, or a pale appearance.
The 3D relief effect was also not strong enough. Although the paper was less likely to show heat damage at this lower temperature, the finished effect lacked the metallic brightness and dimensional depth needed for premium packaging.
For this test, 90°C is not suitable as a formal production parameter.
100°C: Noticeably Better but Still Not Fully Balanced
At 100°C, the foil transfer became more stable. Most of the pattern could appear, metallic gloss improved, and the relief contour became clearer than at 90°C.
However, the report notes that larger areas or fine text could still show slight missing foil. This means 100°C may work for simpler artwork, but it did not provide the best balance for 3D embossed foil stamping.
If a project has detailed branding, small letters, or decorative textures, 100°C may still leave too much quality risk.
110°C: The Best Reference Condition
A 110°C for 2 seconds, the foil released sufficiently and attached evenly to the paper surface. The edges were sharp, the details were clear, and the metallic gloss looked full and natural.
The 3D relief die also produced a more obvious dimensional effect. The raised and recessed areas looked more complete, the relief height was more even, and the final result had a stronger premium packaging feel.
Just as important, the paper surface remained stable. The report notes that this setting did not cause obvious heat damage. The paper stayed relatively flat, and the relief effect remained clean rather than crushed or distorted.
For this tested combination, 110°C / 2 seconds is the best starting reference for batch sampling.
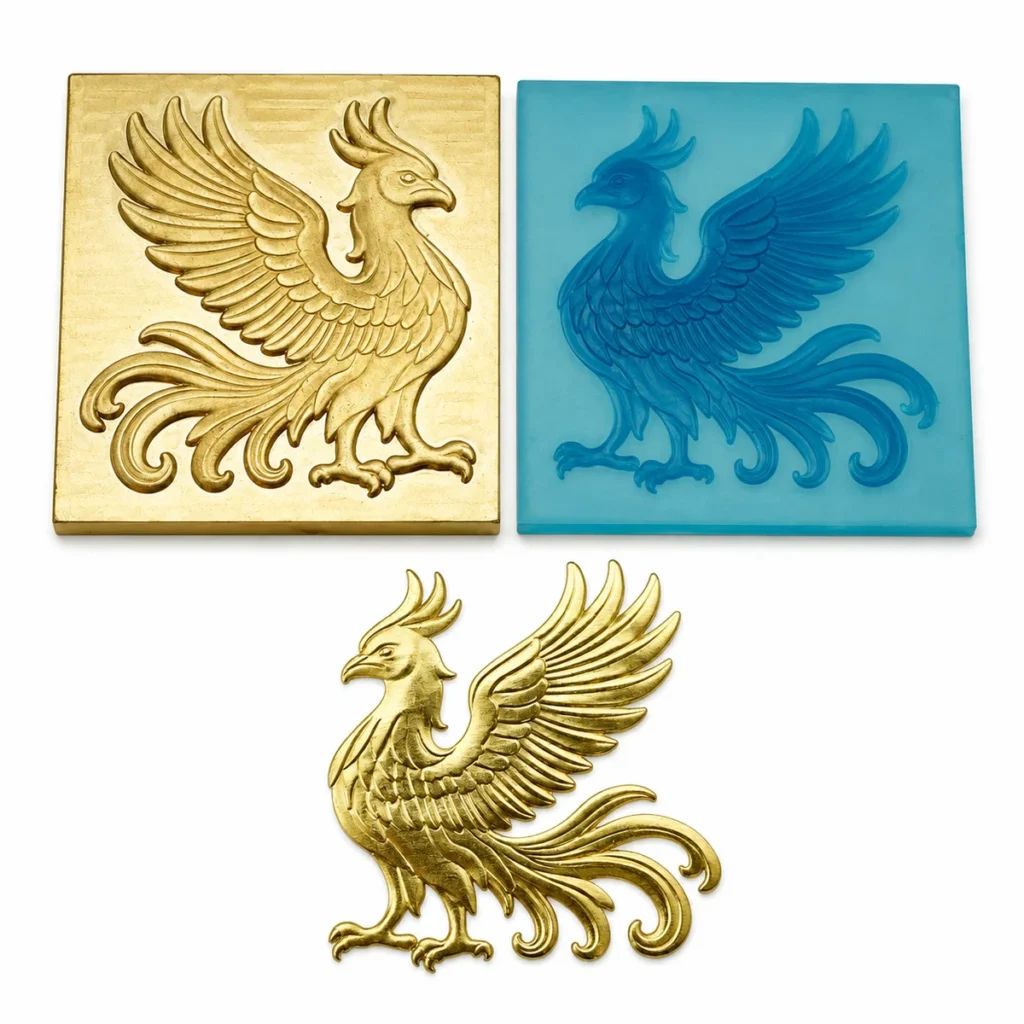
Custom‑artwork brass relief stamping die, sharp raised contours, perfect for leather branding and high‑end paper foil stamping.
120°C: Strong Transfer but Higher Paper Risk
At 120°C, the foil could still transfer completely and the metallic gloss remained strong. However, the higher temperature increased heat exposure on the paper.
The report warns that edges may spread slightly, fine text or complex textures may become less sharp, and relief edges may lose clarity. Continued production at this higher temperature may also increase pressure marks or slight paper deformation.
This is a common finishing problem: a higher temperature can make foil coverage stronger, but it can reduce precision. For 3D embossed foil stamping, detail and relief quality matter as much as foil coverage.
How to Adjust 3D Embossed Foil Stamping in Production
Use 110°C / 2 seconds as a reference point for similar paper, foil, and 3D relief die combinations. Then adjust based on the actual stock and die structure.
Step 1: Confirm the Paper Stock
Different papers respond differently to heat and pressure. Before sampling, record:
Paper type
Paper weight or thickness
Surface finish: coated, uncoated, textured, pearl, metallic, or laminated
Whether the paper will be converted into a box, cover, card, or envelope
Whether the stamping area crosses a fold, seam, glue area, or multi-layer section
A flat sheet test may not behave the same as the final folded package. If the final product has seams or layered areas, test the real structure.
Step 2: Check the 3D Relief Die
The die must be clean and sharply made. Dust, paper fiber, foil residue, or worn relief details can reduce sharpness.
Verificar:
Relief depth
Fine detail clarity
Flatness of die mounting
Whether the die area matches machine pressure capacity
Whether the artwork contains thin lines or large solid areas
If the die is too large for the machine pressure or the artwork has heavy solid areas, temperature adjustment alone will not solve the problem. Consider revising the design or tooling.
Step 3: Start with 110°C / 2 Seconds
For a similar paper and foil combination, start at 110°C and 2 seconds. Test both fine details and larger design areas.
The sample should be checked for:
Foil ausente
Weak metallic gloss
Relief depth
Edge clarity
Paper pressure marks
Paper deformation
Whether fine details remain sharp
Step 4: Adjust Temperature, Time, and Pressure Separately
If the foil is missing and the relief is weak, temperature may be too low, pressure may be too light, or the foil may not match the paper surface. Check pressure and die contact before increasing temperature.
If edges spread or the paper shows marks, reduce temperature or pressure first. Long dwell time can also increase heat damage, so avoid extending time without a clear reason.
Choosing Machines and Dies for 3D Embossed Foil Stamping
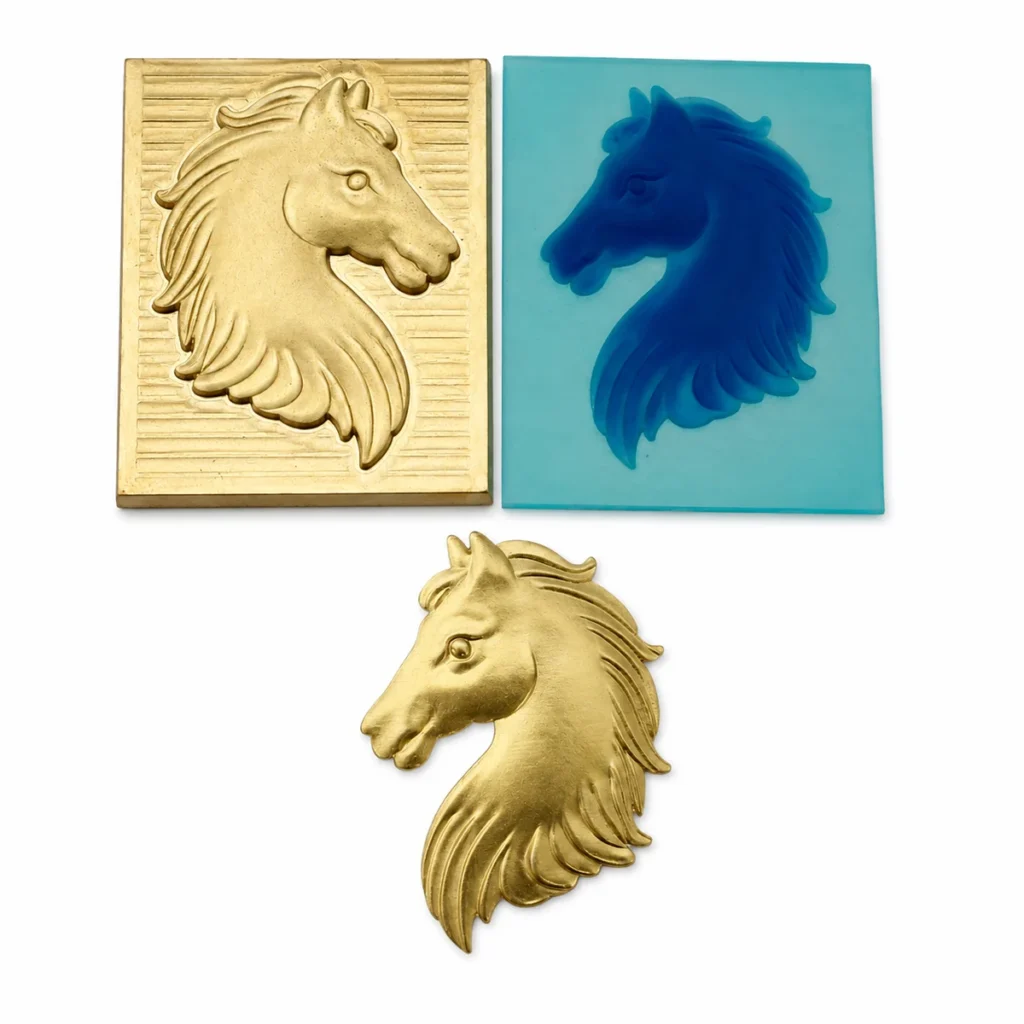
Factory‑direct CNC‑engraved 3D relief brass die, delivers crisp raised foil effects for leather & paper packaging projects.
The source test used a 3T pneumatic hydraulic hot stamping machine. At the time of this article draft, the ZHENGFEI sitemap does not show a dedicated live product page for that exact 3T model, so the schema related product should use the 3D relief brass hot stamping dies product page.
For machine comparison and production planning, you can also review:
For a project-specific paper test, 3D relief die review, machine recommendation, or packaging sample plan, contact ZHENGFEI.
Frequently Asked Questions
What is the best temperature for 3D embossed foil stamping on paper?
In the documented ZHENGFEI test, 110°C was the best reference temperature for 3D embossed foil stamping on paper. The recommended condition was 110°C for 2 seconds using a 3T pneumatic hydraulic hot stamping machine and 3D relief die.
Why is 110°C better than 120°C for this test?
At 120°C, foil transfer remained strong, but paper heat exposure increased. The test report notes higher risk of edge spread, less sharp fine details, pressure marks, and slight deformation. At 110°C, foil transfer, relief depth, edge clarity, and paper stability were better balanced.
Can I use the same 110°C setting for every paper?
No. Use 110°C / 2 seconds as a starting reference, not a universal rule. Paper type, paper weight, coating, foil model, die depth, pressure, and final product structure can all change the best setting.
What causes weak 3D relief in paper foil stamping?
Weak relief can come from low pressure, low temperature, short dwell time, shallow die design, stiff paper, or poor backing support. Check die depth and pressure before increasing temperature.
What causes edge spread in 3D embossed foil stamping?
Edge spread is often caused by excessive temperature, excessive pressure, aggressive foil release, or artwork that is too fine for the die and paper combination. Reducing heat or pressure can help restore sharper edges.
Is pre-embossing required before foil stamping?
Not always. A matched 3D relief foil stamping setup can create relief and foil transfer in one process. However, some difficult papers or complex designs may benefit from a separate pre-embossing step. Test both workflows when the project requires very deep relief or very fine details.
Conclusión
For the tested combination of 3T pneumatic hydraulic hot stamping machine + 3D relief die + paper, the best 3D embossed foil stamping temperature was 110°C for 2 seconds.
At 90°C, foil transfer and relief depth were weak. At 100°C, the result improved but still did not fully balance large areas and fine details. At 110°C, foil transfer was complete, edges were sharp, details were clear, metallic gloss was full, and the paper surface remained stable. At 120°C, transfer remained strong, but edge spread, dull details, pressure marks, and deformation risk increased.
Use 110°C / 2 seconds as a practical starting reference, then confirm the result with the actual paper stock, foil model, die depth, pressure, dwell time, and packaging structure. If you need help designing a 3D relief die, choosing a machine, or testing a paper packaging project, contact ZHENGFEI.
Author and Test Note
This article is based on a ZHENGFEI process test prepared by John Zhao, founder of ZHENGFEI. The company has more than 21 years of experience covering graphic design, book and packaging printing, hot stamping processes, equipment selection, custom mold production, and production support. The test value is a practical reference; it should not replace a sample test on the buyer’s actual paper, foil, die, and packaging structure.
Comparte tu amor
ZHENGFEI Technical Team
ZHENGFEI Technical Team shares practical hot stamping knowledge from real production tests, including brass die design, foil stamping parameters, machine setup, leather, paper, acrylic, plastic, wood and packaging applications.






 English
 Japanese
 Spanish
 French
 Korean
 German
 Russian