We use cookies to ensure that we give you the best experience on our website.
Contact Founder
Still have doubts?
Connect directly with our Founder. Whether it’s about pricing or technical details, get a straight answer and an exclusive “Founder’s Bonus” for your first order.
900+ Satisfied Clients
🏆 Over 1000+ Custom Projects Successfully Delivered.
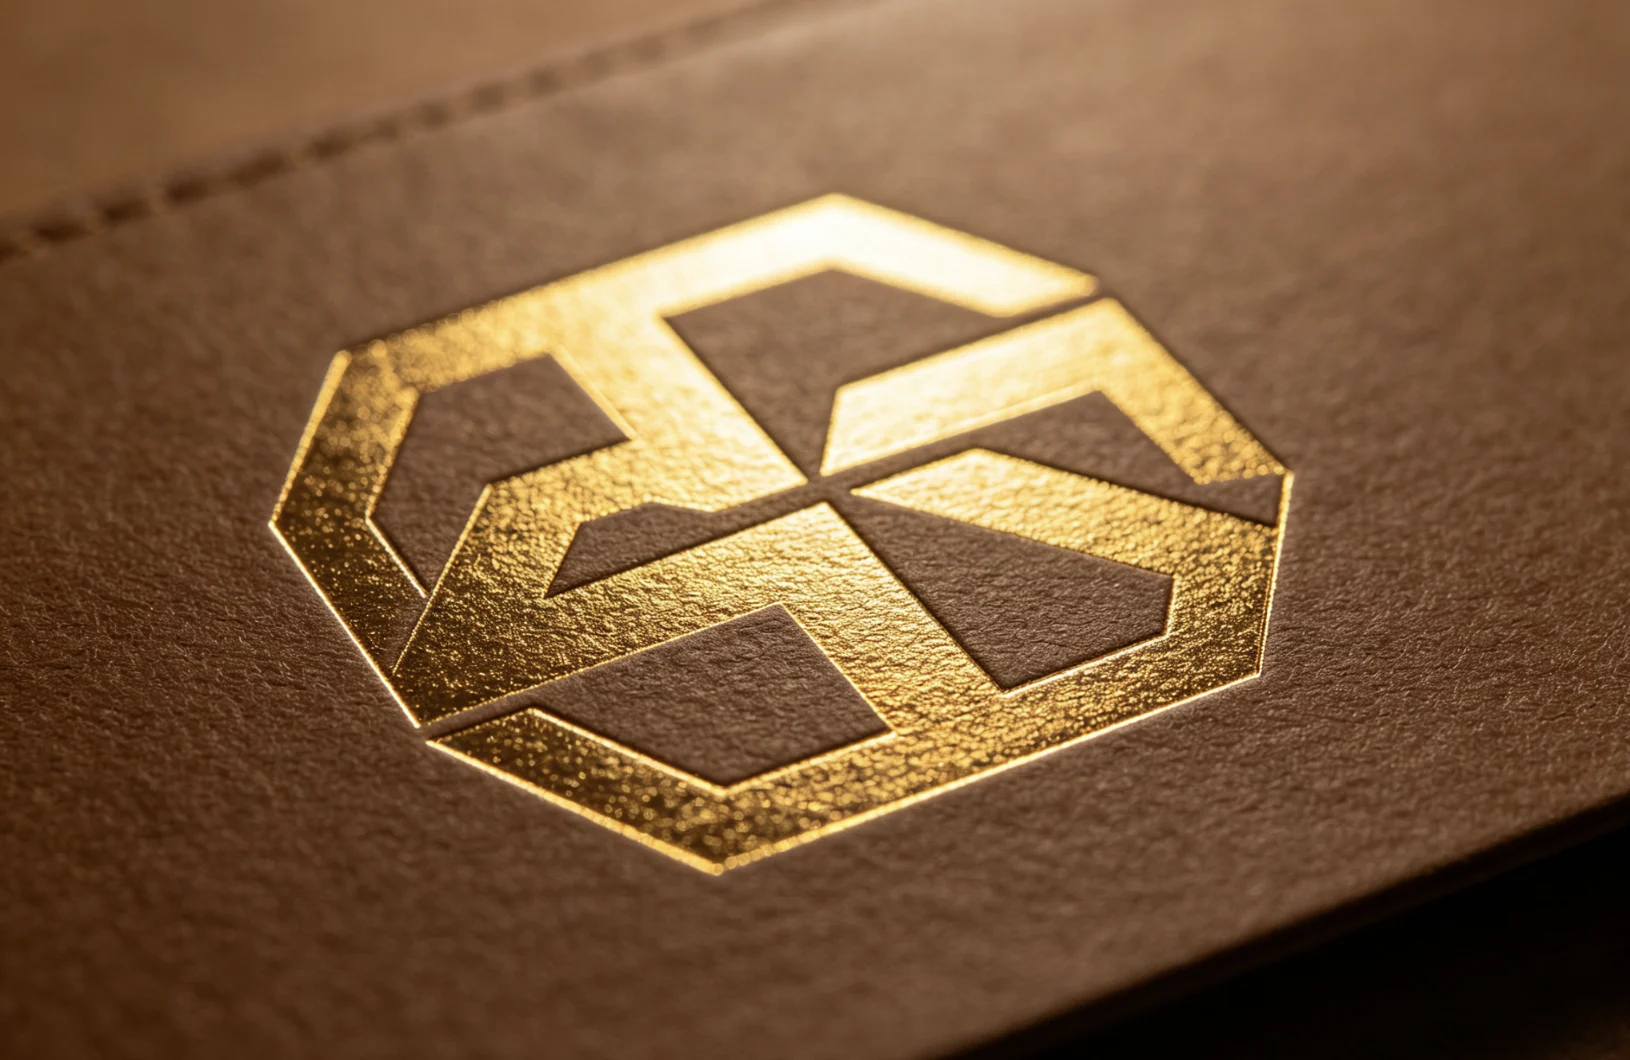
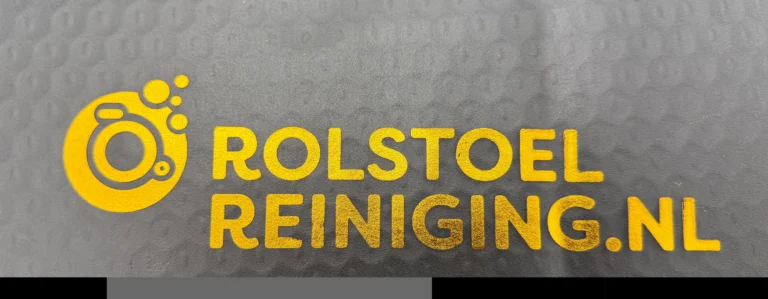
Our precision flat brass heating plates deliver uniform heat & pressure for clean, full coverage even on large solid logo areas without patchy foil.
How Much Solid Area Can a Brass Foil Stamp Have? Logo Design Rules for Clean Foil Transfer
A brass foil stamp can hold a solid logo area, but the larger and denser the design becomes, the more carefully you need to control heat, pressure, dwell time, foil type, and material support.
If the solid area is too large for the machine, material, or die setup, the result may show missing foil, uneven shine, deep press marks, edge spreading, or extra gold around the design. If the artwork has too many tiny reversed-out details, those details may fill in during stamping.
This guide explains how solid logo area, line width, spacing, and artwork structure affect custom brass foil stamp results on leather, PU leather, paper, packaging, book covers, cards, and other flat materials.
Quick Answer
There is no single maximum solid area that works for every brass foil stamp. A small solid logo can stamp cleanly with a manual hot stamping machine, while a large solid plate may need stronger and more even pressure.
Before making a brass die, check:
total logo size
amount of solid coverage
smallest line width
spacing between details
reversed-out text or holes
material hardness and texture
machine pressure and plate size
whether the design needs foil stamping, blind embossing, or 3D embossing
For clean foil transfer, avoid making the entire design one large solid block unless your machine and material can support even contact across the full area.
Why Solid Area Matters in Foil Stamping
Hot foil stamping depends on contact. The heated die, foil, and material must meet evenly at the design surface.
When the die has a small logo or thin lettering, the contact area is limited. The machine can apply pressure more easily across the design. When the die has a large solid area, the machine must apply even pressure across a much wider surface.
If pressure is not even, one side may transfer fully while another side looks weak. If pressure is too strong, the material may show deep marks or the foil may spread at the edges.
This is why large solid brass dies need better die leveling, stronger machine stability, and careful sample testing.
Solid Logo vs Line Logo: What Is Easier to Stamp?
Logo Type
Foil Stamping Difficulty
Common Risk
Best Use
Thin line logo
Medium
broken lines if heat/pressure is too low
fine brand marks, simple icons
Medium line logo
Easy to medium
edge spread if overheated
most leather and paper logos
Large solid logo
Higher
uneven foil, deep marks, missing center
bold packaging marks, large labels
Reversed-out logo
Higher
small open details fill in
premium badges, negative-space designs
Dense decorative logo
Higher
blurred detail, extra foil
crests, complex borders, ornamental art
For most custom brass stamps, a balanced design with medium stroke width, clear spacing, and controlled solid areas is easier to stamp than a very thin or fully solid design.
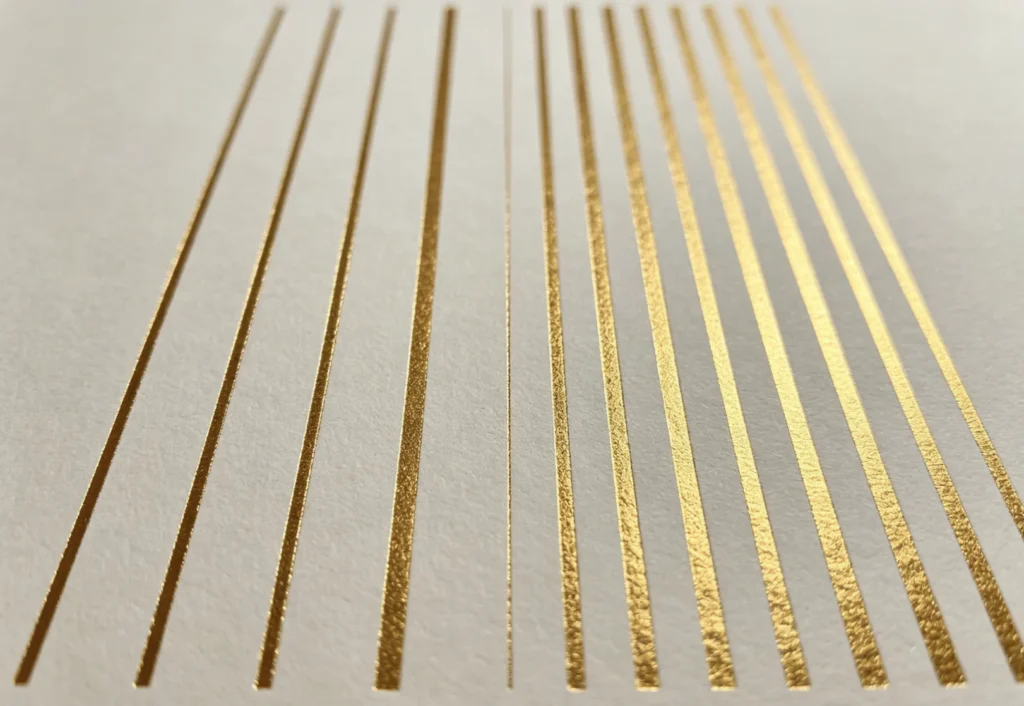
This line width test chart helps you set safe minimum stroke sizes and solid block dimensions to prevent broken or incomplete foil transfer.
What Happens When the Solid Area Is Too Large?
Large solid areas can still work, but they are less forgiving.
Common problems include:
center area does not transfer fully
edges transfer but middle looks patchy
one side is darker than the other
material shows deep press marks
foil looks cloudy or uneven
extra foil appears around the edge
paper dents or leather compresses too much
small reversed details disappear
These problems do not always mean the brass die is bad. Often, the die design, machine pressure, material support, and foil type are not matched well enough.
Small text is one of the easiest areas to lose during foil stamping.
Very small letters can fill in because heat and pressure spread into the open spaces. Script fonts, serif fonts, and thin decorative fonts are more sensitive than simple sans-serif text.
For small leather goods, paper cards, and book covers, test text size before producing the final die. If the logo must include tiny words, consider increasing the logo size or simplifying the font.
Very thin lines may look beautiful on screen, but they can become weak in foil stamping.
Thin lines can:
fail to transfer completely
break during stamping
disappear on textured leather
look uneven on rough paper
wear faster over repeated production
For production, line width should match the material. Smooth coated paper can hold finer detail than textured leather or soft PU leather. Thick leather, fabric covers, and rough materials need stronger lines.
3. Leave Enough Space Between Strokes
Spacing is just as important as line width.
If lines are too close together, the spaces can close during stamping. This is especially common with:
small initials
dense logos
thin negative spaces
script letters
decorative frames
complex crests
If the spacing is too tight, lowering temperature may help, but it cannot fully fix artwork that is too dense for the material.
4. Break Up Very Large Solid Blocks
If a logo contains a very large solid shape, consider whether it can be improved with open space, outlines, or texture.
For example:
turn a full solid rectangle into an outlined badge
reduce heavy background areas
enlarge negative spaces inside the logo
separate thick elements from fine text
avoid placing tiny reversed text inside a large hot area
This can improve foil transfer and reduce the pressure needed for clean stamping.
5. Match the Die Size to the Machine
The larger the die, the more pressure and stability you need.
A small logo can often be stamped with a manual desktop machine. A large book cover title, packaging mark, or wide leather logo may need a larger machine with a bigger work area and more stable pressure.
The same brass die can behave differently on different materials.
PU Leather
PU leather can stamp cleanly, but the coating may soften if temperature or dwell time is too high. Large solid areas may show pressure marks more easily.
Based on Zhengfei workshop tests, PU leather often needs controlled heat and short dwell time. EC-27 and QS201 PU leather tests used 100°C with 1 second as a strong reference for clean transfer. 90XTS thick letter tests used 110°C with 1 second as a strong reference.
Genuine leather varies by grain, oil content, surface finish, and firmness. Firm, smooth leather can hold detail better than very soft or heavily textured leather.
For large solid marks, use stable support under the leather and test pressure carefully.
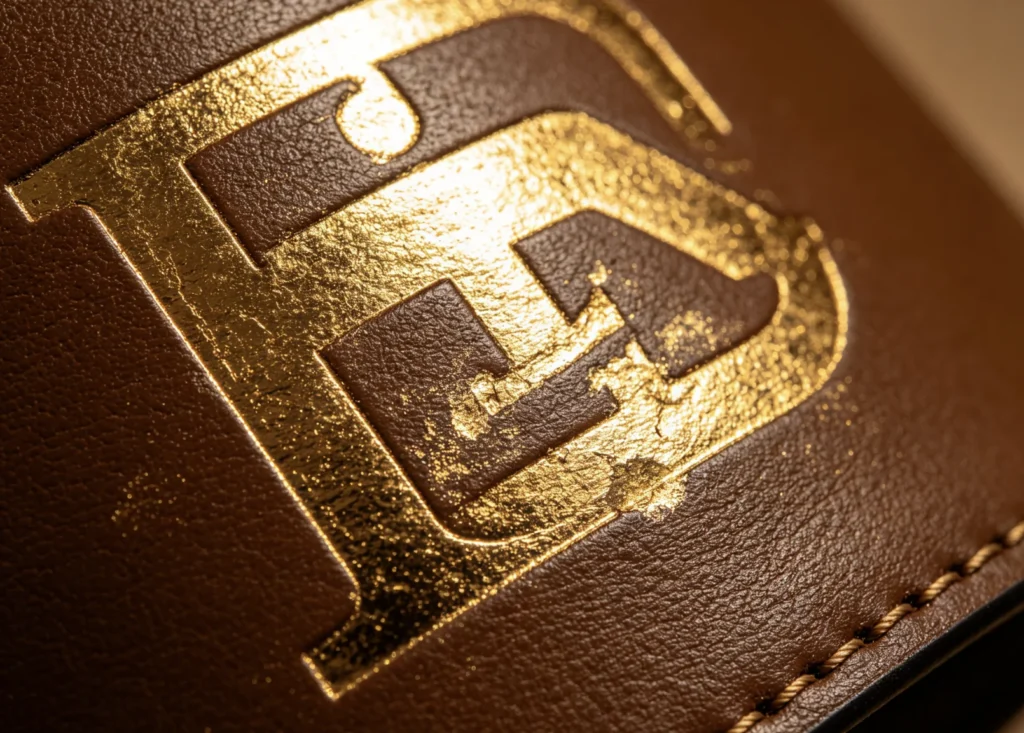
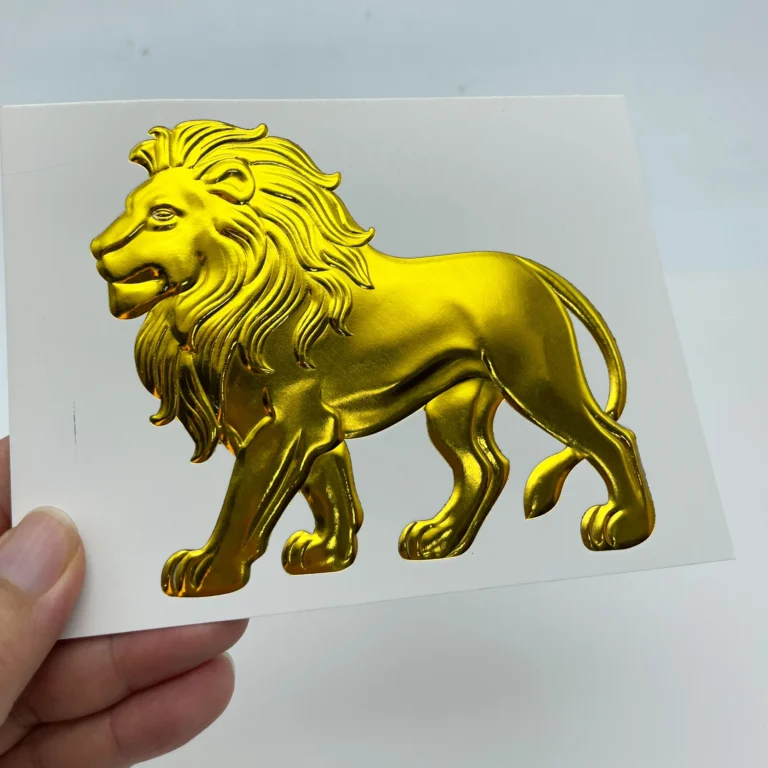
Deep relief brass molds distribute pressure evenly across wide solid logo areas, eliminating splotchy, faded gold on thick leather surfaces.
Paper and Cardstock
Paper and cardstock are usually more stable than soft leather, but they can dent, yellow, or show edge spread if heat or pressure is too high.
In Zhengfei EC17 white cardstock tests, 110°C with 1 second gave a clean result with movable type. For napkin paper and 3D embossed paper stamping, 110°C with 2 seconds was a strong reference in workshop tests.
Book covers can be more complicated because the surface layer and inner board may react differently. Cloth covers, PU covers, coated paper covers, and greyboard covers all need testing.
For book cover work, a large solid logo may need stronger pressure and better support than a small title or thin line logo. Read the book cover foil stamping guide before choosing a die size.
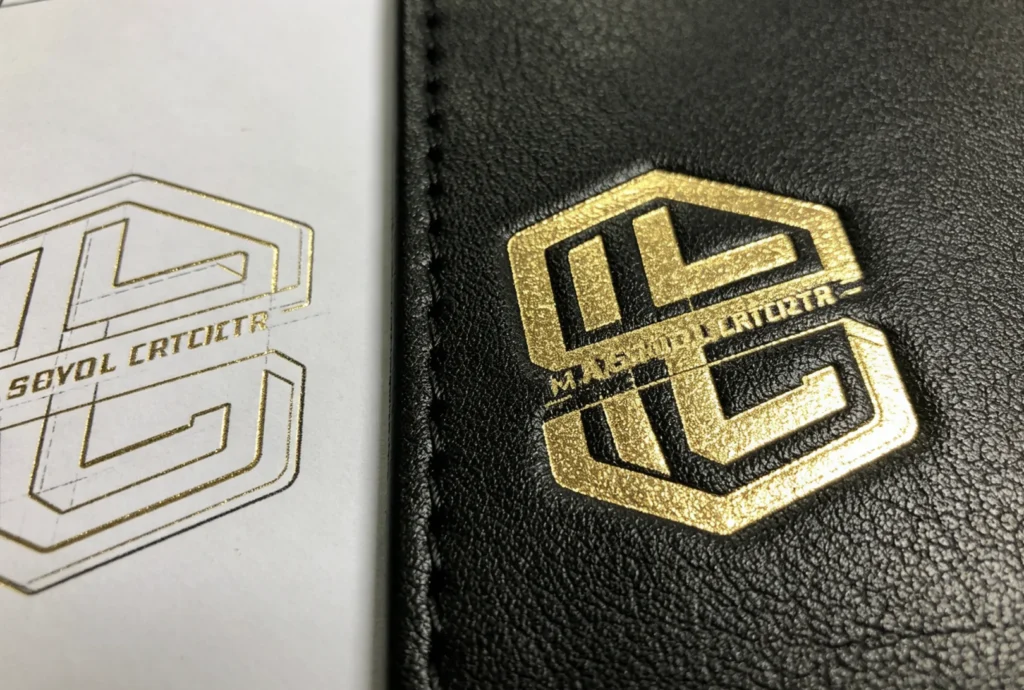
CNC engraving accurate to 0.01mm reproduces your solid logo artwork exactly, no distortion or filled-in fine negative spaces on leather.
Brass Die Quality Still Matters
A good brass die makes the process easier.
For custom logo work, brass is preferred because it transfers heat evenly, holds fine detail well, and lasts through repeated production. Zhengfei custom brass dies are CNC engraved with 0.01mm precision, helping achieve sharper edges and more stable detail.
Before production, send a clean file for review. AI or vector PDF is usually best. A clear JPG can work for simple logos, but it is not ideal for fine detail or precise geometry.
Artwork Review Checklist Before Making a Brass Die
Before ordering a custom brass foil stamp, check:
Is the final stamp size confirmed?
Is the material leather, PU leather, paper, wood, cloth, or packaging board?
Is the file AI, vector PDF, EPS, or a clear high-resolution image?
Are small letters readable at the final stamping size?
Are thin lines thick enough for the material?
Are negative spaces large enough?
Is the logo mostly solid or mostly line-based?
Does the project need foil stamping, blind embossing, or 3D embossing?
What machine will be used?
What foil color and foil type will be used?
This information helps the factory recommend the right die depth, mounting method, and machine setup.
Quick Design Fix Table
Problem in Artwork
Stamping Risk
Better Design Choice
Very tiny text
fills in or becomes unreadable
enlarge text or simplify font
Very thin lines
broken or incomplete foil
increase stroke width
Tight spacing
details merge together
add more negative space
Large solid block
uneven transfer or deep marks
break into outline or reduce solid area
Reversed text inside solid logo
holes fill in
enlarge reversed details
Complex crest at small size
detail loss
simplify or increase stamp size
Dense border pattern
edge spread
reduce density and spacing pressure
Best Practice for Sample Testing
Do not approve a large custom brass die based only on how the logo looks on a screen.
Before batch production:
Confirm final stamp size.
Review line width and spacing.
Test on the exact material.
Start with conservative temperature and dwell time.
Check edge clarity and foil coverage.
Adjust pressure only after heat and dwell time are reasonable.
Confirm the sample before making more products.
For many stamping problems, the best fix is not simply “more heat”. More heat can improve transfer, but it can also create edge spreading, extra foil, or material damage.
Final Thoughts
A brass foil stamp can have a solid logo area, but clean results depend on the balance between design, die quality, material, machine pressure, heat, dwell time, and foil compatibility.
For small and medium logos, clean artwork and a precision brass die are usually enough. For large solid logos, large book cover designs, or dense decorative artwork, you should review the design before engraving and test the full setup before production.
Need help checking whether your logo is suitable for a brass foil stamp?
Send your artwork, final stamp size, material, foil color, product photo, and machine model to ZHENGFEI. Our design team can review the file and recommend the right custom brass die, machine setup, or 3D embossing option.
FAQ
Can a brass foil stamp have a large solid logo area?
Yes, but larger solid areas need more even heat and pressure. If the machine or material cannot support the full surface evenly, the result may show patchy foil, deep marks, edge spread, or uneven shine.
Why does the middle of my solid logo not transfer?
The middle may not transfer because pressure is uneven, the die is not level, the material surface is not flat, or the machine does not provide enough force across the full solid area. Test die leveling and material support first.
Are thin lines or thick lines better for foil stamping?
Medium, clear lines are usually safer than extremely thin lines. Thin lines may break or miss foil, while very thick lines and solid blocks need more pressure. The best line width depends on material, die size, and machine setup.
Why do small holes or spaces fill in during stamping?
Small negative spaces fill in when the artwork is too tight or when heat, pressure, or dwell time is too high. Increase spacing, simplify the design, or reduce heat/time during testing.
Should I use a flat brass die or 3D embossing die?
Use a flat brass die for clean logos, text, and simple foil stamping. Use a 3D embossing die when the design needs raised depth, premium relief, or dimensional texture on book covers, packaging, invitations, or certificates.
What file format is best for a custom brass foil stamp?
AI or vector PDF is usually best because the lines stay clean at the final stamping size. A clear JPG may work for simple logos, but fine details, small text, and precise geometry should be reviewed from vector artwork.
Share your love
ZHENGFEI Technical Team
ZHENGFEI Technical Team shares practical hot stamping knowledge from real production tests, including brass die design, foil stamping parameters, machine setup, leather, paper, acrylic, plastic, wood and packaging applications.






 English
 Japanese
 Spanish
 French
 Korean
 German
 Russian