We use cookies to ensure that we give you the best experience on our website.
Contact Founder
Still have doubts?
Connect directly with our Founder. Whether it’s about pricing or technical details, get a straight answer and an exclusive “Founder’s Bonus” for your first order.
900+ Satisfied Clients
🏆 Over 1000+ Custom Projects Successfully Delivered.
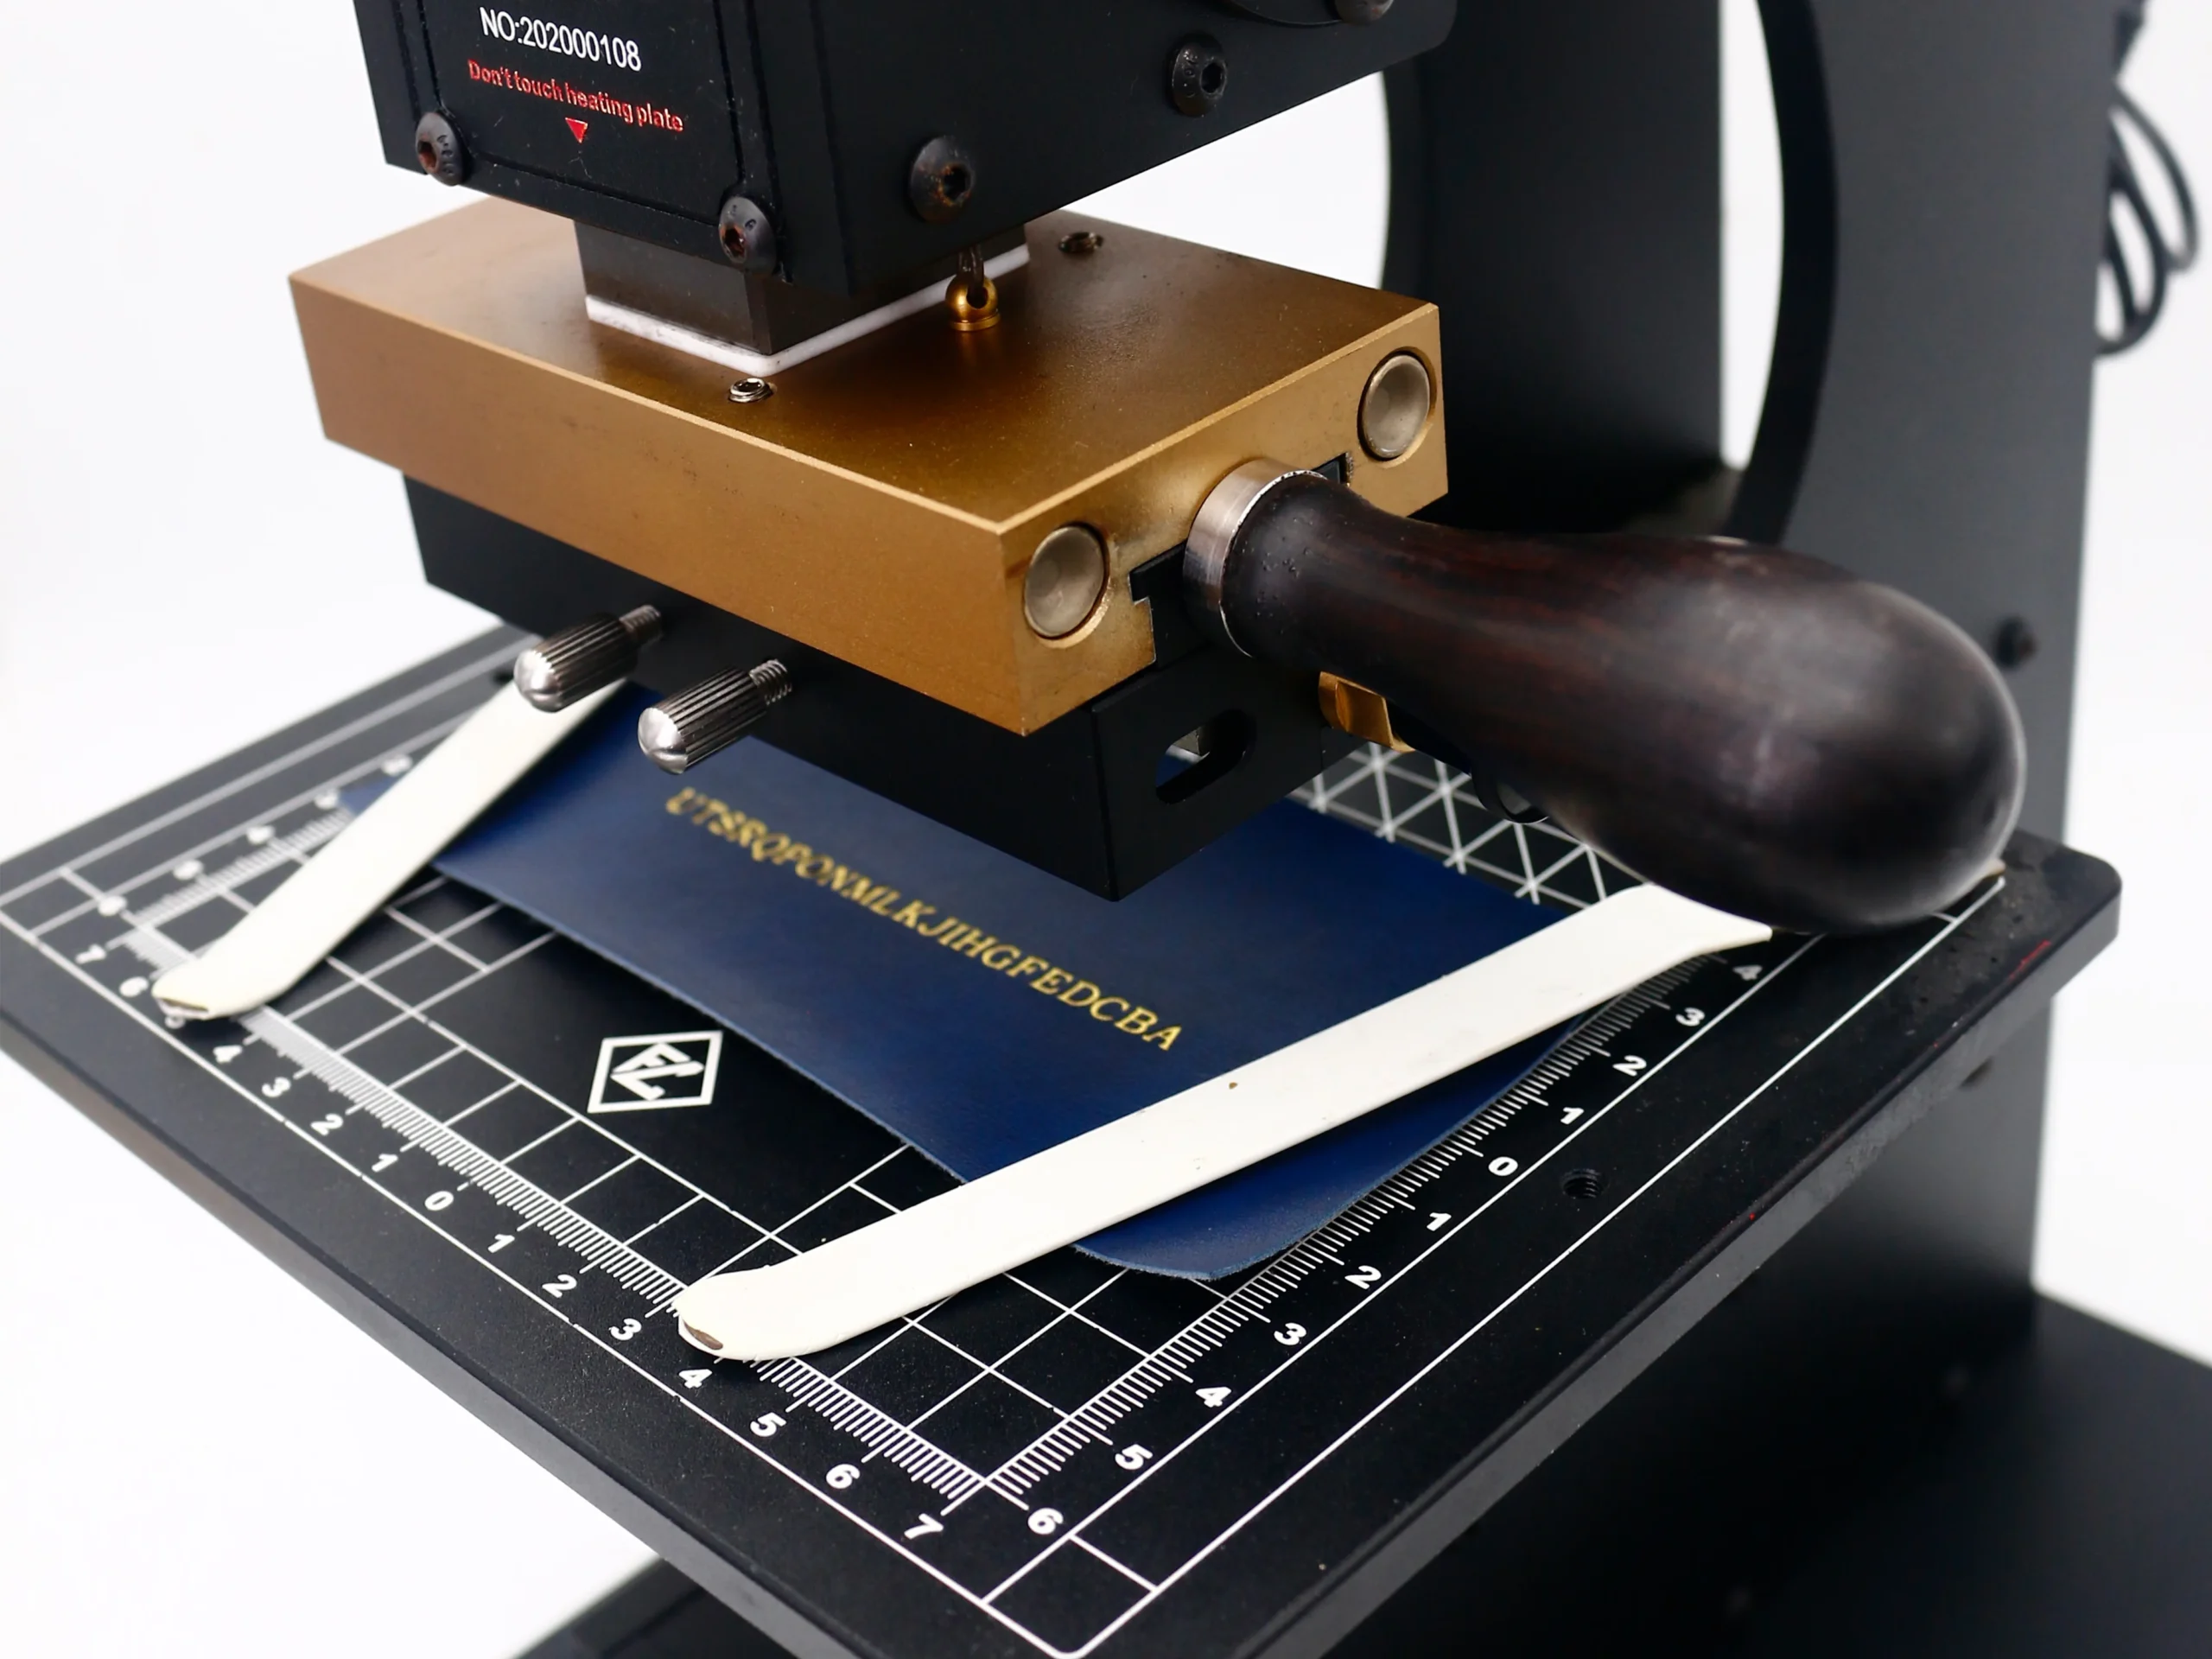
Uniform brass heating plate ensures consistent heat distribution for flawless, long-lasting foil transfers on all leather types.
How to Hot Stamp Leather: Temperature, Pressure, and Time Explained
Hot stamping leather looks simple, but the result depends on three core factors: temperature, pressure, and time. If one of them is off, you may get weak foil transfer, blurry edges, scorch marks, or leather deformation.
This guide explains how to set up leather hot stamping correctly, especially for logos, names, small letters, and custom branding on wallets, belts, bags, notebooks, and other leather goods.
Why These Three Settings Matter
Hot stamping works by using heat and pressure to transfer foil or create a blind emboss/deboss impression on the leather surface. Good results come from balancing:
Temperature: activates the foil adhesive or helps create a clean burnished impression
Pressure: ensures even contact between the brass die and the leather
Time: controls how long heat stays on the material
Too little heat or time usually causes incomplete transfer. Too much heat or time can damage the leather and soften the detail.
Recommended Starting Temperature for Leather
Different leather types react differently to heat. A useful starting range is:
Vegetable-tanned leather: 180-200°C
Chrome-tanned leather: 150-180°C
PU leather / faux leather: 100-150°C
Paper-backed or coated leather: test at lower temperature first
For many PU leather foil stamping jobs, 100-110°C with a short press can already produce a clean result. In our test-style applications, small logos and letters on PU leather often perform well at:
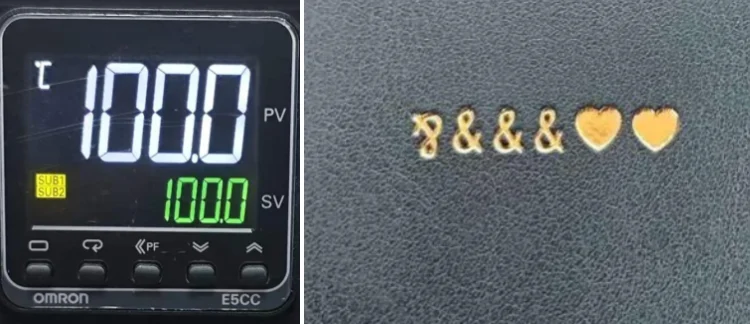
100°C, 1 second for brass dies and small letter stamps
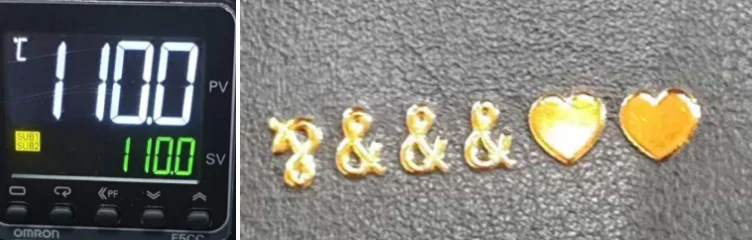
110°C, 1 second for thicker letter types or certain interchangeable type setups
These are good reference points, but the exact setting should still be adjusted based on logo size, foil type, leather coating, and die depth.
Our factory-tested sweet spot: 100℃ delivers perfect, vibrant gold transfers with crisp edges—proven for PU leather durability and quality. Too hot can ruin your design: 110℃ increases gloss but risks smearing, showing why our precise control is critical for fine details.
How Much Pressure Do You Need?
Pressure should be firm, even, and stable. The goal is full die-to-surface contact without crushing the material.
If pressure is too low, you may see:
incomplete foil transfer
light or broken lines
inconsistent depth
If pressure is too high, you may see:
blurred edges
excessive spread around the logo
surface marks around the stamped area
distortion on soft leather
For manual hot stamping machines, steady downward force is usually better than aggressive force. A level die and stable worktable matter just as much as strength.
Best Dwell Time for Leather Hot Stamping
Dwell time means how long the heated die stays in contact with the leather.
A common starting point is:
PU leather: 1-2 seconds
Genuine leather: 2-5 seconds
Deep blind embossing: may require longer testing depending on thickness
Short dwell times usually help preserve fine details, especially for small text and sharp logo edges. In many leather foil stamping applications, 1 second is enough when the temperature is correctly matched.
If the foil looks weak, do not automatically increase time too much. First check whether the temperature is too low or pressure is uneven.
Quick Setup Guide by Leather Type
PU Leather
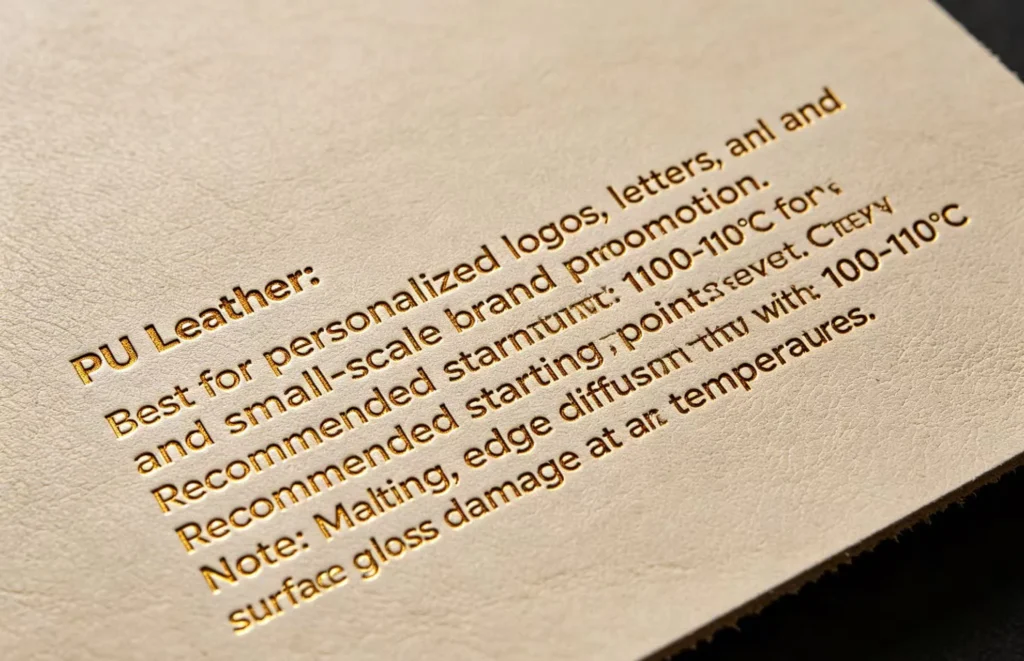
Best for personalized logos, letters, and small branding.
Suggested starting point:
100-110°C
1 second
medium, even pressure
Watch for:
melting
edge spreading
surface gloss damage at higher temperatures
Our factory-tested parameters for PU leather ensure crisp, durable stamping without damage, so you get perfect results every time.
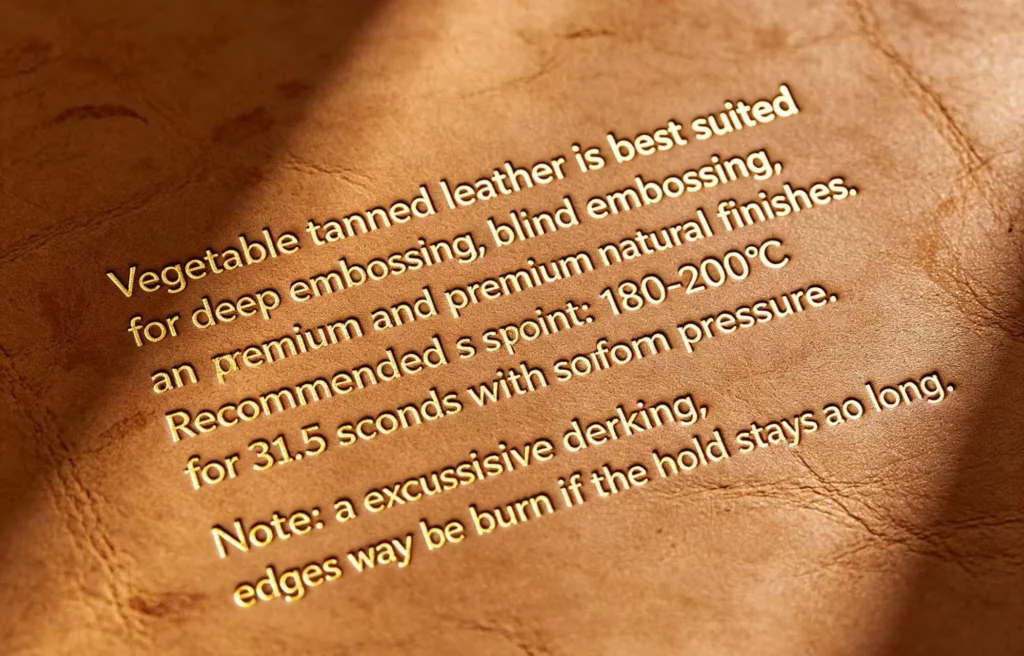
Vegetable-Tanned Leather
Best for deep branding, blind stamping, and premium natural finish.
Suggested starting point:
180-200°C
3-5 seconds
firm pressure
Watch for:
darkening that is too strong
over-burned edges if the die stays too long
Achieve deep, premium embossing on vegetable tanned leather with our calibrated settings, designed for natural, long-lasting finishes.
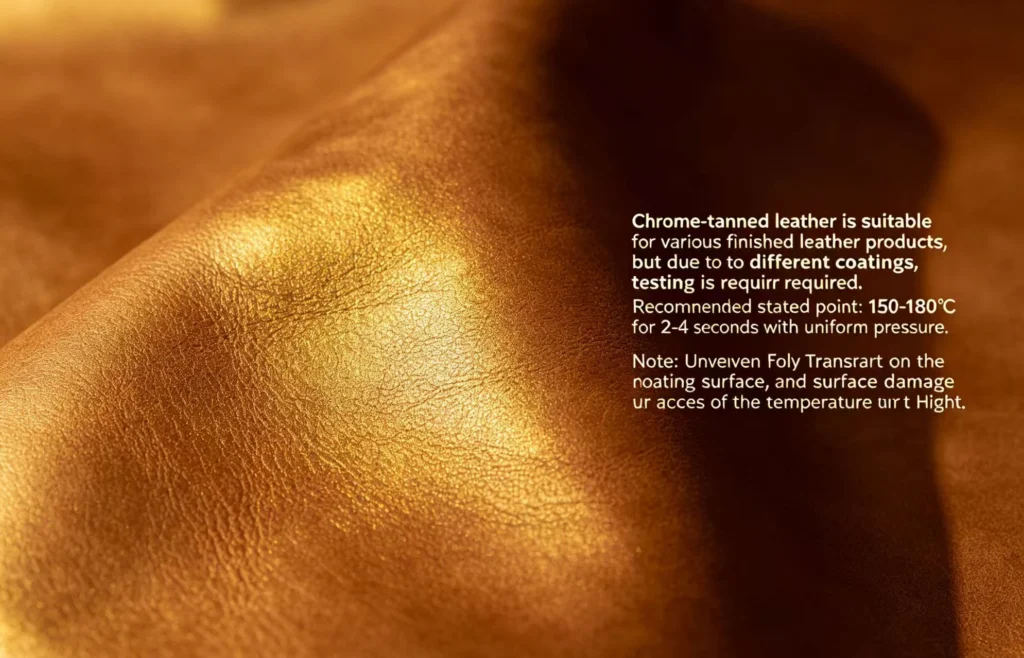
Chrome-Tanned Leather
Best for many finished leather goods, but requires testing because coatings vary.
Suggested starting point:
150-180°C
2-4 seconds
even pressure
Watch for:
uneven foil transfer on coated surfaces
finish damage if heat is too high
Our guide for chrome-tanned leather helps you avoid common pitfalls like uneven foil transfer and surface damage for professional results.
Leather Type
Temperature
Dwell Time
Pressure
PU / Faux Leather
100–150°C
1–2 sec
Medium, even
Chrome-Tanned
150–180°C
2–4 sec
Even
Vegetable-Tanned
180–200°C
3–5 sec
Firm
Common Hot Stamping Problems and Fixes
1. Foil does not transfer well
Possible causes:
temperature too low
insufficient pressure
dwell time too short
Fix:
increase temperature by 10-20°C
check die contact
test slightly longer press time
2. Edges look blurry
Possible causes:
temperature too high
too much pressure
dwell time too long
Fix:
lower temperature
reduce pressure slightly
shorten press time
3. Leather surface becomes shiny, hard, or damaged
Possible causes:
overheating
over-pressing
unsuitable leather coating
Fix:
reduce temperature immediately
shorten dwell time
test on scrap material first
4. Small letters fill in or lose detail
Possible causes:
die too hot
excessive pressure
foil spreading
Fix:
lower temperature
reduce time
use a clean, high-precision brass die
Best Practice Before Production
Before running a full order, always test on scrap pieces from the same material batch. That is the fastest way to find the best combination of:
leather type
foil type
die size
temperature
pressure
dwell time
Even when two materials are both labeled “PU leather,” the surface coating can behave very differently.
What Tooling Works Best?
For clean leather stamping, most professional users prefer:
Custom brass dies for logos and artwork
Brass letter stamps for names, initials, and serial personalization
Manual hot stamping machines for small-batch or studio production
Custom fixtures or positioning tools for repeat accuracy
A well-made brass die helps maintain sharp lines, even heating, and consistent transfer.
Final Thoughts
If you want better leather hot stamping results, start by controlling the basics:
choose the right temperature for the leather type
apply stable and even pressure
keep dwell time as short as possible while achieving full transfer
For many PU leather applications, 100-110°C and 1 second is a strong starting point. For genuine leather, especially vegetable-tanned leather, the required temperature and time are usually higher.
The best results always come from small tests before mass production.
Q1: What temperature should I use for hot stamping leather?
It depends on the leather type. As a general guide: PU / faux leather: 100–150°C Chrome-tanned leather: 150–180°C Vegetable-tanned leather: 180–200°C For most PU leather foil stamping jobs, starting at 100–110°C with a 1-second press is a reliable first test. Always adjust based on your specific foil, die size, and leather coating.
Q2: How long should I press when hot stamping leather?
Dwell time varies by material: PU leather: 1–2 seconds Genuine leather (chrome-tanned): 2–4 seconds Vegetable-tanned leather: 3–5 seconds Start with the shortest time that gives a full transfer. Longer dwell times increase the risk of blurry edges, surface damage, or fine detail loss — especially on small logos and text.
Q3: Why is my foil not transferring properly onto leather?
The three most common causes are: Temperature too low — the foil adhesive is not fully activated Pressure too light or uneven — the die is not making full contact with the surface Dwell time too short — not enough heat transfer time Try increasing the temperature by 10–20°C first, then check that your die sits level and your pressure is consistent before adjusting dwell time.
Q4: Can I hot stamp PU leather without damaging it?
Yes, but PU leather is more heat-sensitive than genuine leather. Keep the temperature between 100–130°C and limit dwell time to 1–2 seconds. Higher temperatures can cause the surface to melt, lose gloss, or develop edge spreading around the stamp. Always test on a scrap piece first.
Q5: What causes blurry edges when hot stamping a logo?
Blurry or spread edges are usually caused by: Temperature set too high Excessive pressure Dwell time too long A worn or low-precision die Reduce temperature and shorten press time first. For fine logos and small text, a high-precision custom brass diegives the cleanest edge definition.
Q6: Do I need a brass die for leather hot stamping?
Not always — but brass dies are the preferred choice for professional results. Brass conducts heat evenly, holds fine detail well, and lasts for high-volume production. For logos, brand marks, and intricate artwork, a custom brass die will consistently outperform zinc or polymer alternatives.
Q7: What is the difference between hot foil stamping and blind embossing on leather?
Hot foil stamping transfers a metallic or pigmented foil onto the leather surface using heat and pressure, adding color and shine. Blind embossing (or blind debossing) uses heat and pressure without foil, creating a recessed or raised impression directly in the leather — no color added. Both methods use similar temperature and pressure settings, but blind embossing on thick genuine leather may require higher temperatures and longer dwell times to achieve a clean, deep impression.
Q8: Should I test before hot stamping a full production run?
Yes — always. Even if two pieces are labeled the same leather type, surface coatings and material batches can behave very differently under heat. Run a test on a scrap piece from the same batch to confirm your temperature, pressure, and dwell time settings before committing to a full order.
Share your love
ZHENGFEI Technical Team
ZHENGFEI Technical Team shares practical hot stamping knowledge from real production tests, including brass die design, foil stamping parameters, machine setup, leather, paper, acrylic, plastic, wood and packaging applications.






 English
 Japanese
 Spanish
 French
 Korean
 German
 Russian