Мы используем cookie, чтобы обеспечить максимальное удобство использования нашего веб-сайта.
Contact Founder
Still have doubts?
Connect directly with our Founder. Whether it’s about pricing or technical details, get a straight answer and an exclusive “Founder’s Bonus” for your first order.
900+ Satisfied Clients
🏆 Over 1000+ Custom Projects Successfully Delivered.
Our paired upper/lower CNC steel emboss dies deliver full even pressure for sharp deep blind impressions when installed correctly, eliminating faint weak embossing marks.
Why Is My Paper Embosser Not Making a Clear Impression?
If your paper embosser is not making a clear impression, the most common causes are paper that is too thick or too hard, artwork that is too detailed, weak hand pressure, incorrect die installation, poor paper positioning, or a die size that is too large for the paper and tool.
A handheld paper embosser works best on suitable paper-based materials with clean line artwork and a correctly installed upper and lower die pair. Before embossing final envelopes, business cards, certificates or wedding invitations, test the same paper first and check whether the die is clipped in place, the paper is flat, and the handle is pressed fully.
What a Paper Embosser Should Do
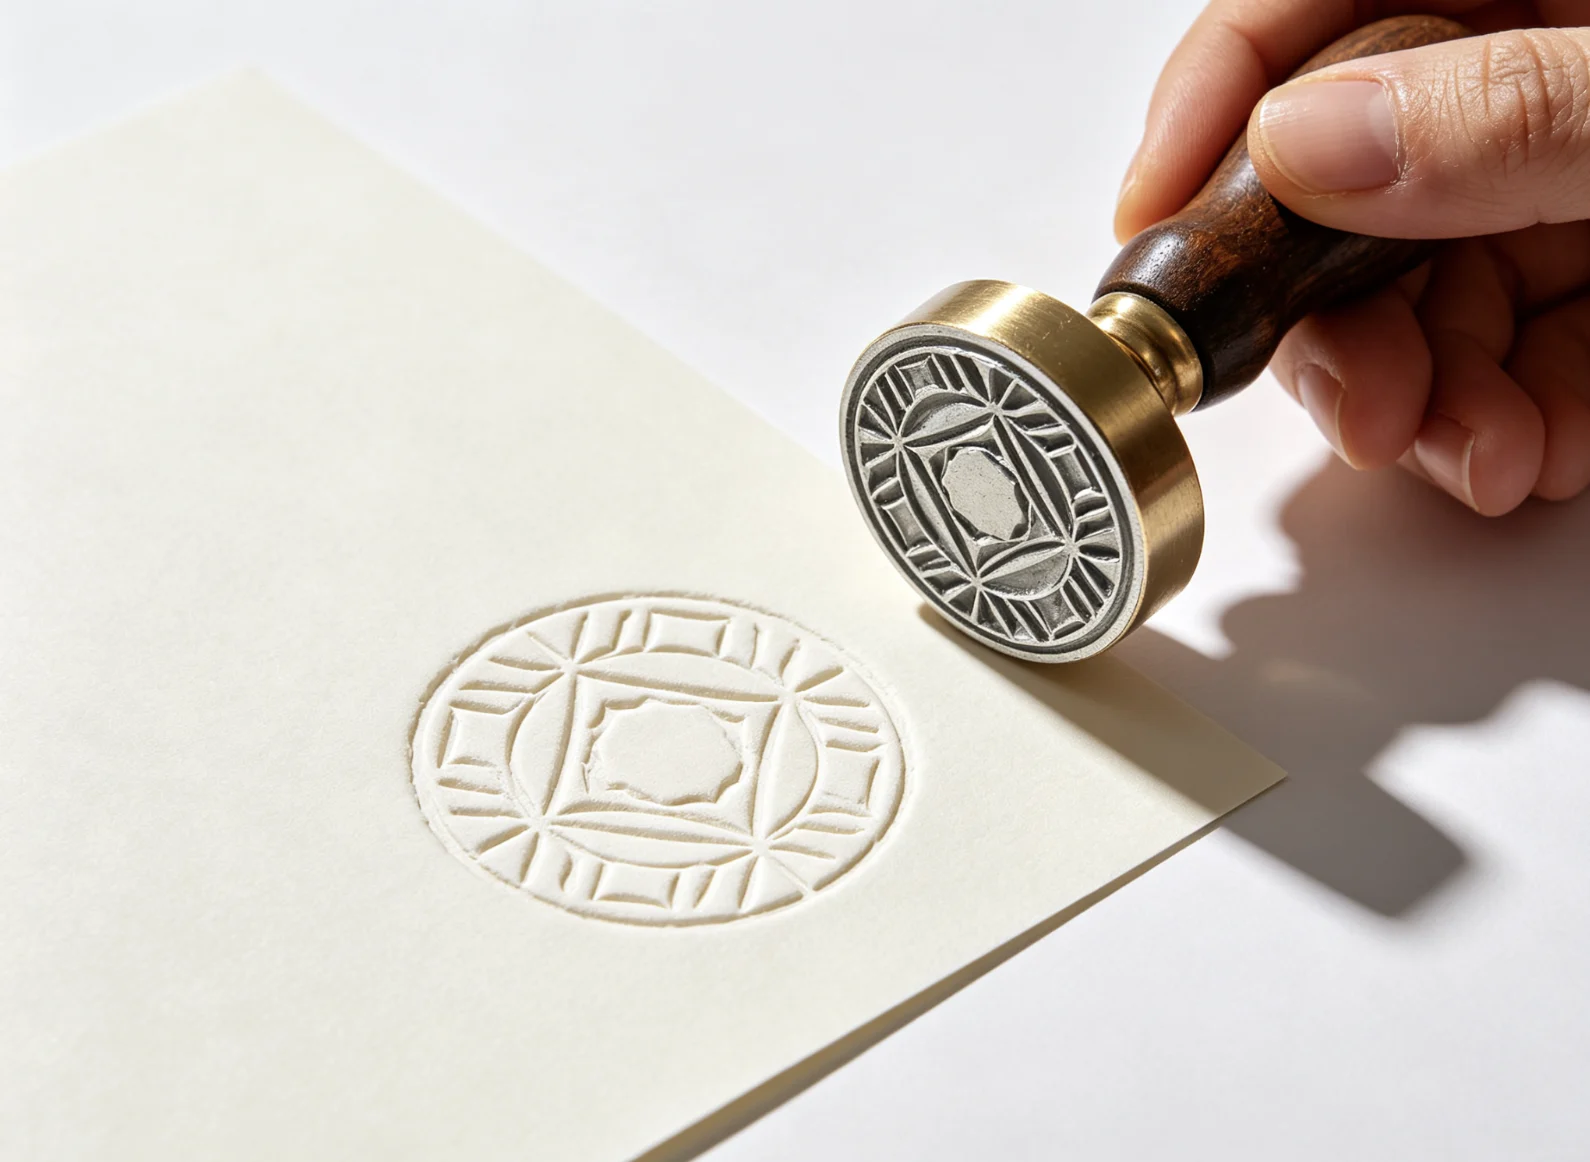
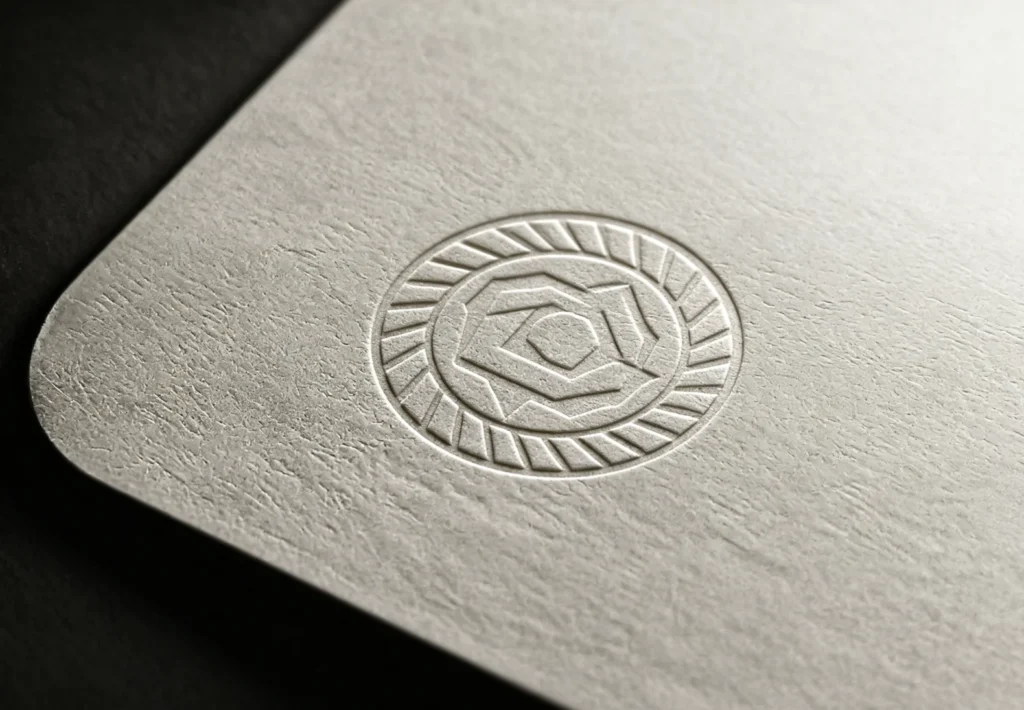
A paper embosser creates a raised or recessed blind impression by pressure. It does not need ink, foil or heat. The paper is placed between an upper die and a lower die, and the tool presses the paper fibers into the shape of the design.
This process is commonly used for:
envelope seals
wedding invitations
certificates
business cards
branded stationery
letterheads
paper packaging
обложки для блокнотов
official-style seals
custom monograms
For small paper seals and stationery work, the Trodat Handheld Custom Steel Embosser Seal Stamp is a practical tool because it uses a matched steel die pair and works without heat. But like any pressure tool, the final result depends on paper, artwork, die setup and hand force.
Common Symptoms and Causes
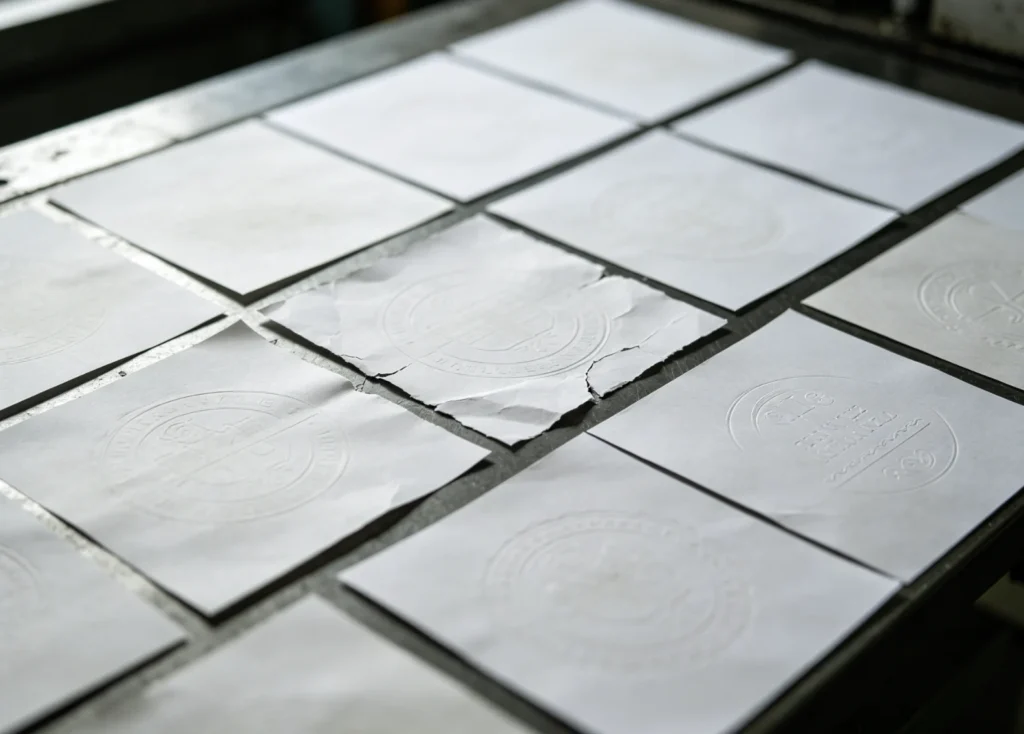
Cracked, wrinkled and faint embossing stems from mismatched paper thickness, incomplete handle pressure or poorly seated steel dies; our guide fixes all common handheld embosser issues.
Проблема
What It Looks Like
Likely Cause
Weak impression
design is visible but shallow
paper too hard, pressure too light, or large die area
Missing details
logo outline appears but small text disappears
artwork too small, thin or crowded
Paper cracks
raised area breaks or splits
paper is brittle, too dry, too thin, or pressed too hard
Paper wrinkles
sheet bends around the seal
paper is too soft, too thin, or not supported evenly
One side is clear, one side is weak
uneven raised impression
paper not flat, die not seated, or pressure is not centered
Impression is off-position
mark is clear but in the wrong place
paper inserted without a guide or orientation mark
No impression at all
almost nothing appears
die not installed correctly, paper too thick, or tool not pressed fully
If you are comparing blind embossing with gold foil or heat branding, read Embossing vs Foil Stamping vs Heat Branding first. The tools, materials and results are different.
Cause 1: The Paper Is Too Thick or Too Hard
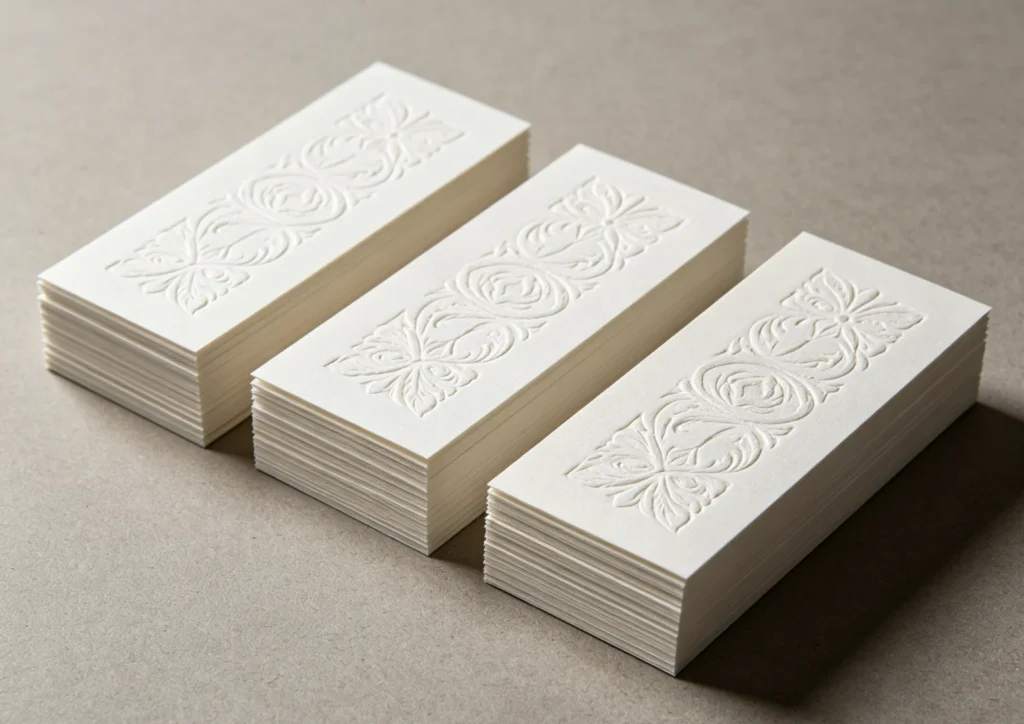
Standardized CNC engraved steel rectangular emboss dies maintain consistent deep raised detail across full batch runs without uneven or faded edges on medium cardstock.
Paper thickness is one of the first things to check. A handheld embosser has limited leverage. If the paper is too thick, too rigid or too heavily coated, the die may not press deeply enough.
This can happen with:
very thick cardstock
laminated cards
plastic-coated paper
hard packaging board
multi-layer glued paper
heavy handmade paper
business cards with dense coating
Thicker paper is not always better. A strong raised impression needs paper that can deform under pressure. Some premium papers feel luxurious but resist pressure, especially if they are coated or compacted.
For a handheld embosser, smooth medium-weight paper often gives a clearer result than very thick board.
Cause 2: The Paper Is Too Thin or Too Soft
Thin paper can also cause problems. It may wrinkle, crease, tear or show a weak raised shape because there is not enough fiber depth to hold the design.
Very soft paper may collapse around the die instead of forming a clean raised edge. Napkin-like paper, thin envelopes and lightweight stationery can work for some simple designs, but they need careful testing.
If the paper wrinkles:
reduce excessive pressure
test a smoother paper
keep the paper flat before pressing
avoid large solid designs
choose a simpler die layout
Do not assume every envelope or invitation paper will emboss the same way. Paper fiber, coating and surface texture matter as much as thickness.
Cause 3: The Artwork Is Too Detailed
A custom steel embossing die can only reproduce what the artwork allows. If the logo has very small letters, thin lines, tight spacing or dense decorative borders, the paper may not show every detail clearly.
Common artwork problems:
small text below readable size
thin script fonts
crowded seal borders
fine hairlines
gradients or shadows
photos or grayscale artwork
too many words inside a small round seal
decorative lines too close together
For clean embossing, use black-and-white line artwork. Vector files are preferred. Text should be outlined before production so the design shape is fixed.
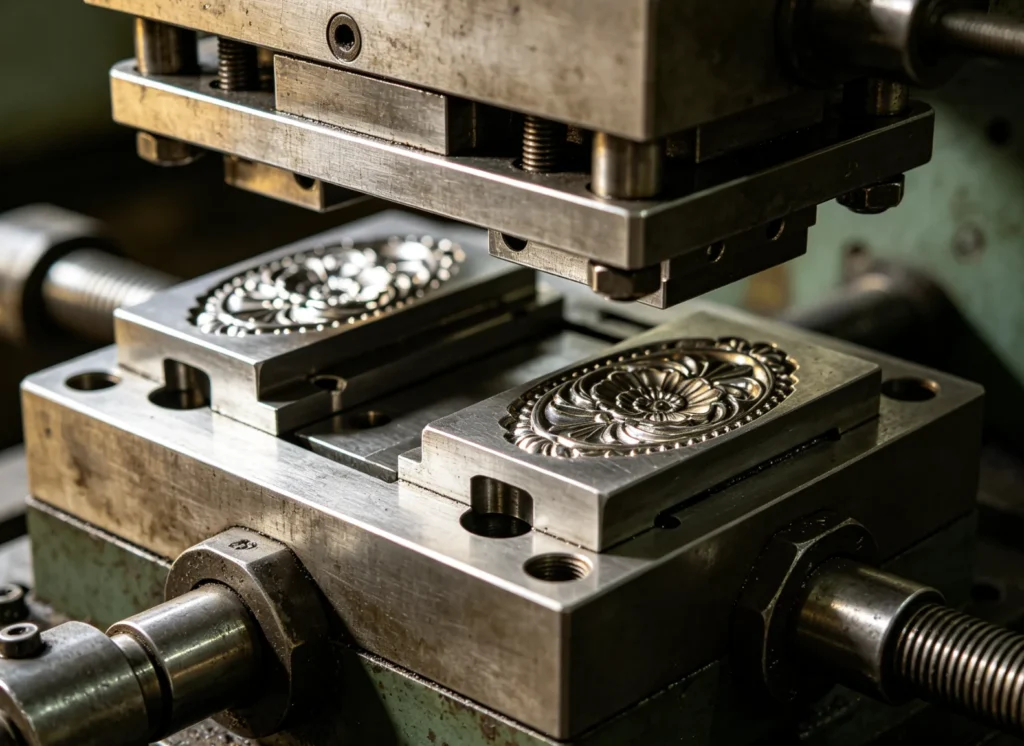
A handheld embosser uses a matched upper and lower die pair. If the die set is not clipped into the tool correctly, the raised and recessed parts may not meet accurately.
Before testing the paper, check:
the die holder is fully inserted
the upper and lower dies face the correct direction
the die set is clipped into the groove
there is no paper dust or debris inside the holder
the die does not wobble
the paper is placed between the two die surfaces
If the die is reversed, loose or not seated fully, the impression can be weak, offset or incomplete.
For Trodat-style handheld embossers, the click sound helps indicate that the press action is complete, but you should still inspect the impression after the first test.
Cause 5: The Handle Was Not Pressed Fully
Some users stop pressing too early because they are afraid of damaging the paper. But a paper embosser needs enough force to reshape the paper fibers.
Press the handle firmly and evenly. If the tool design includes a click indication, press until the embossing action is complete. Then release the handle smoothly and check the mark.
Avoid quick half-presses. They often create shallow impressions. Also avoid twisting the tool while pressing, because that can shift the paper and blur the edge of the design.
For repeated work, use the same hand position and pressure each time so the impressions look consistent.
Cause 6: The Design Area Is Too Large
The larger the die area, the more force is needed. A small monogram may emboss clearly with a handheld tool, while a large seal with thick borders and many letters may appear shallow on the same paper.
This is why die size and artwork density should be considered together.
Die Style
Easier or Harder?
Why
Simple initials
Easier
small contact area and open spacing
Clean round logo
Moderate
depends on line width and paper
Dense official seal
Harder
many small details need even pressure
Large solid emblem
Harder
more surface area needs more force
Thin script text
Harder
fine strokes can disappear
If the impression is weak with a large design, simplify the artwork, reduce solid areas or choose a paper that accepts pressure more easily.
Factory-matched male/female steel emboss die pairs lock together for perfectly aligned even pressure, the core fix for lopsided, faint emboss impressions.
Cause 7: The Paper Is Not Positioned Correctly
A clear impression can still look unprofessional if it is crooked or placed too close to the edge.
Before embossing final products, decide:
where the seal should sit
whether the design should be centered
how far it should be from the edge
whether the paper should be inserted from the top, side or bottom
whether the raised side should face the front or back
For envelope flaps, business cards and certificates, make a simple paper guide or mark a reference line outside the visible area. If you are embossing a batch, test the first few pieces and keep one approved sample beside you.
Trodat states that Ideal Seal press positioning marks help align the impression, but the user still needs to insert the paper consistently.
Cause 8: The Material Is Not Suitable for a Handheld Paper Embosser
A handheld paper embosser is mainly for paper-based materials. It is not the right tool for every surface.
Avoid using it on:
leather
thick plastic
metal
acrylic
hard board
very thick packaging
uneven folded products
heavily laminated cards
For leather logos, gold names or heat marks, use a hot stamping machine, brass die or branding iron instead. A paper embosser and a leather hot stamping machine are different tools.
Use this checklist before ordering a new die or replacing the tool.
Test on standard smooth paper first.
Confirm the die is installed in the correct direction.
Make sure the die holder is clipped into the groove.
Press the handle fully and evenly.
Check whether one side of the impression is weaker.
Try a slightly softer or smoother paper.
Avoid very thick, laminated or hard cardstock.
Review whether the artwork is too small or crowded.
Test a simpler design if possible.
Use a guide for repeat positioning.
If standard paper embosses clearly but your final card does not, the issue is probably the paper material, not the embosser body.
Paper Selection Guide
Paper Type
Expected Result
Заметки
Smooth letter paper
usually clear
good for testing basic die contact
Envelopes
often good
test flap thickness and orientation
Medium cardstock
usually workable
depends on coating and stiffness
Cotton paper
can show elegant depth
test because softness varies
Textured paper
variable
texture may hide fine details
Laminated card
often difficult
coating resists pressure and can crack
Very thick board
not recommended
handheld pressure may not be enough
Thin paper
risk of wrinkling
use simple designs and gentle testing
For wedding invitations, business cards and certificates, always test the actual paper before confirming the die design.
Artwork Rules for a Clear Raised Seal
Good embossing starts with artwork that can survive pressure.
Используйте:
clean black-and-white artwork
vector AI, PDF, SVG or EPS when possible
outlined text
open spacing between letters
simple borders
readable final size
medium line weight
Avoid:
photo logos
gradients
tiny script text
very thin hairlines
dense decorative borders
large solid blocks
too many words in a small round seal
If your design includes a company name around a round seal, keep the text large enough to read after embossing. The screen preview may look sharp, but paper embossing has physical limits.
0.01mm precision CNC steel engraving reproduces tiny internal geometric details in embossing, eliminating faint missing lines on textured stationery paper.
When to Choose Embossing, Foil Stamping or 3D Relief
Choose a handheld embosser when you want a subtle raised blind mark on paper.
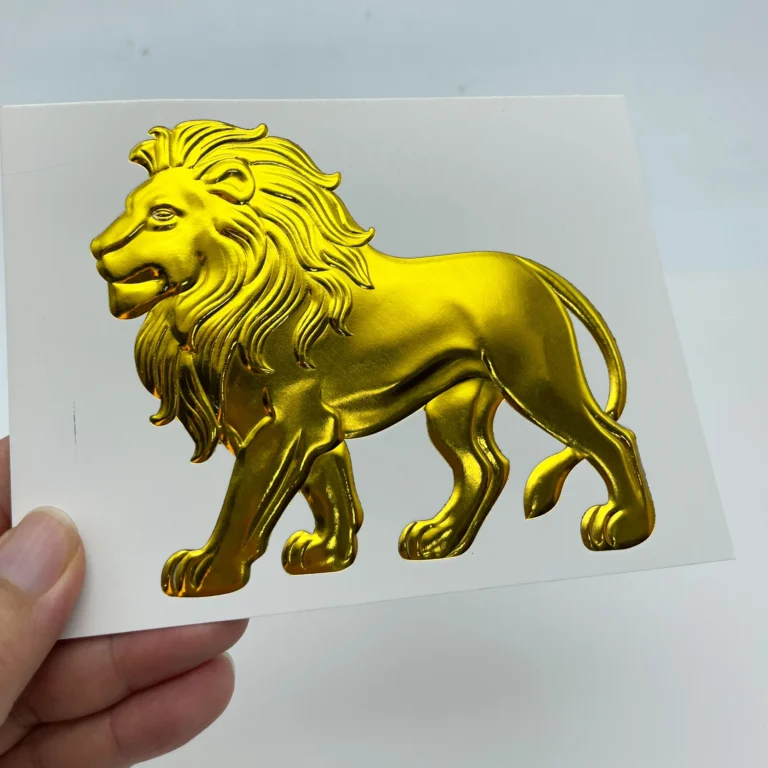
Choose foil stamping when you need gold, silver or colored metallic decoration.
Choose 3D relief embossing when you want a stronger dimensional effect for premium paper, book covers or packaging.
To avoid unclear impressions, prepare this information before ordering:
logo file
final seal size
round or rectangular die preference
paper type
paper thickness
embossing position
quantity
target effect
whether the seal is decorative or official
If the design is for official, notary, company or regulated document use, confirm local legal requirements before ordering.
For decorative branding, wedding stationery and packaging, focus on artwork clarity, die size and paper compatibility.
Часто задаваемые вопросы
Why is my embosser seal not clear?
An embosser seal is usually not clear because the paper is too thick, too hard, too thin, or too textured, or because the artwork is too detailed for the die size. Also check whether the die is installed correctly and whether the handle is pressed fully.
Can a handheld embosser work on thick cardstock?
It can work on some cardstock, but very thick, laminated or hard cardstock may not emboss completely. Test the actual card before production. If standard paper embosses well but the thick card does not, the card is probably too rigid for the handheld tool.
Why does my embossed paper crack?
Paper can crack when it is brittle, dry, too thin, heavily coated or pressed too hard. Fine details and sharp raised edges can also increase cracking risk. Test a smoother paper and avoid overly dense artwork.
Does a paper embosser need ink, foil or heat?
No. A paper embosser creates a raised blind impression by pressure only. It does not need ink, foil or heat. If you need metallic gold or silver color, you need a foil stamping process instead.
Can I use a paper embosser on leather?
A handheld paper embosser is not recommended for leather. Leather usually needs a stronger press, a suitable brass die, and controlled heat or pressure. For leather logos, use a hot stamping machine or branding iron.
What file format is best for a custom embosser die?
Vector artwork is preferred, such as AI, vector PDF, SVG or EPS. Text should be outlined, and the design should be clean black and white. Avoid photos, gradients and tiny details.
Why is one side of the seal weaker than the other?
One weak side can come from uneven paper insertion, a die not seated fully, uneven hand pressure, or a paper surface that is not flat. Reinstall the die, test on flat paper and press the handle evenly.
CTA
Need a clear raised paper seal for envelopes, certificates, business cards, wedding invitations or branded stationery?
Send ZHENGFEI your logo file, paper type, paper thickness, seal size and target position. Our team can help check whether your artwork is suitable for a custom steel embosser die and recommend the right embossing or foil stamping solution.
Поделитесь своей любовью
ZHENGFEI Technical Team
ZHENGFEI Technical Team shares practical hot stamping knowledge from real production tests, including brass die design, foil stamping parameters, machine setup, leather, paper, acrylic, plastic, wood and packaging applications.






 English
 Japanese
 Spanish
 French
 Korean
 German
 Russian