Wir verwenden Cookies, um sicherzustellen, dass wir Ihnen die beste Erfahrung auf unserer Website bieten.
Contact Founder
Still have doubts?
Connect directly with our Founder. Whether it’s about pricing or technical details, get a straight answer and an exclusive “Founder’s Bonus” for your first order.
900+ Satisfied Clients
🏆 Over 1000+ Custom Projects Successfully Delivered.
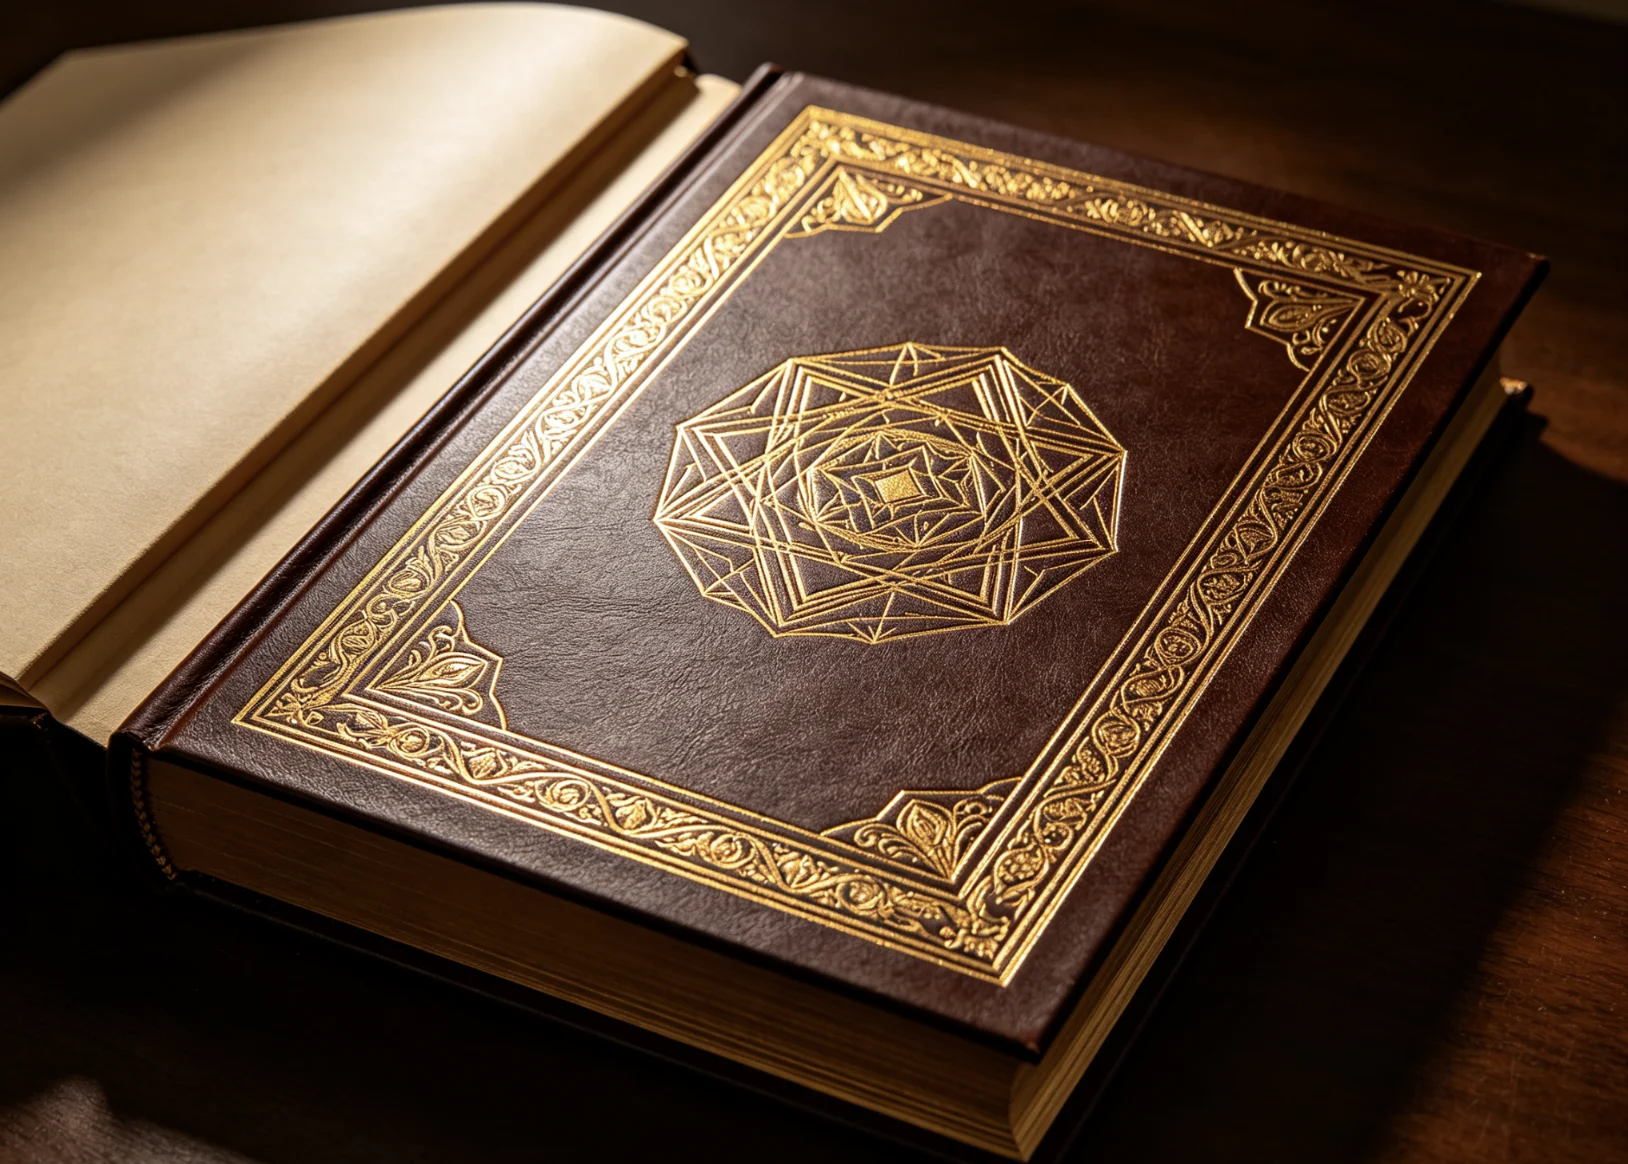
Oversized ground flat brass molds distribute balanced heat and pressure across full large leather covers, eliminating shifting, blurred and patchy foil transfer.
How to Hot Foil Stamp Large Leather Book Covers
Large leather book covers look simple from the outside, but they are one of the trickier hot stamping jobs to get right.
The cover is wide, the material can stretch, the spine area can move, and the logo or title often sits in a more visible position than a normal small leather mark. If the die is too small, the machine is too light, or the cover is not fully supported, the result can shift, blur or transfer unevenly.
This guide shows when to hot foil stamp large leather book covers, which machine to use, how to prepare the artwork and die, and how to keep the title clean and centered on the final cover.
Quick Answer
For large leather book covers, the best result usually comes from a stable flat setup, a well-made brass die, and a machine that can apply even pressure across the full logo or title area.
Large book covers create more problems than small leather logos because the work area is bigger and the material is less forgiving.
Leather can stretch, especially near the spine and folding lines. If the cover is already assembled or partially wrapped, the position of the title may shift between setup and pressing. The bigger the cover, the more important alignment becomes.
Another issue is pressure distribution. A small die may transfer cleanly in one area but miss contact on the opposite side if the cover is not level or the machine is too light. This is why large covers often need a stronger press or a more stable worktable.
The third issue is artwork. A large title can look great on screen but become too heavy on the cover if the solid area is too large or the lines are too thin. Before engraving, check the artwork against the logo size and material thickness.
Genuine leather can produce a beautiful premium title, but it needs careful testing. The surface may respond differently depending on tannage, thickness and finish. Some leather covers work best with foil stamping; others look better with blind debossing.
PU-Leder
PU leather is usually more sensitive to heat and can react faster than genuine leather. That makes it easier to damage if the temperature or dwell time is too high. For PU leather book covers, test on scrap first and start with your established leather reference settings.
Cloth or paper book covers with leather-like appearance
Some book covers are not real leather but still need the same visual result. Those surfaces may accept foil well, but the board structure underneath matters a lot. If the cover flexes too much, the foil can shift or look uneven.
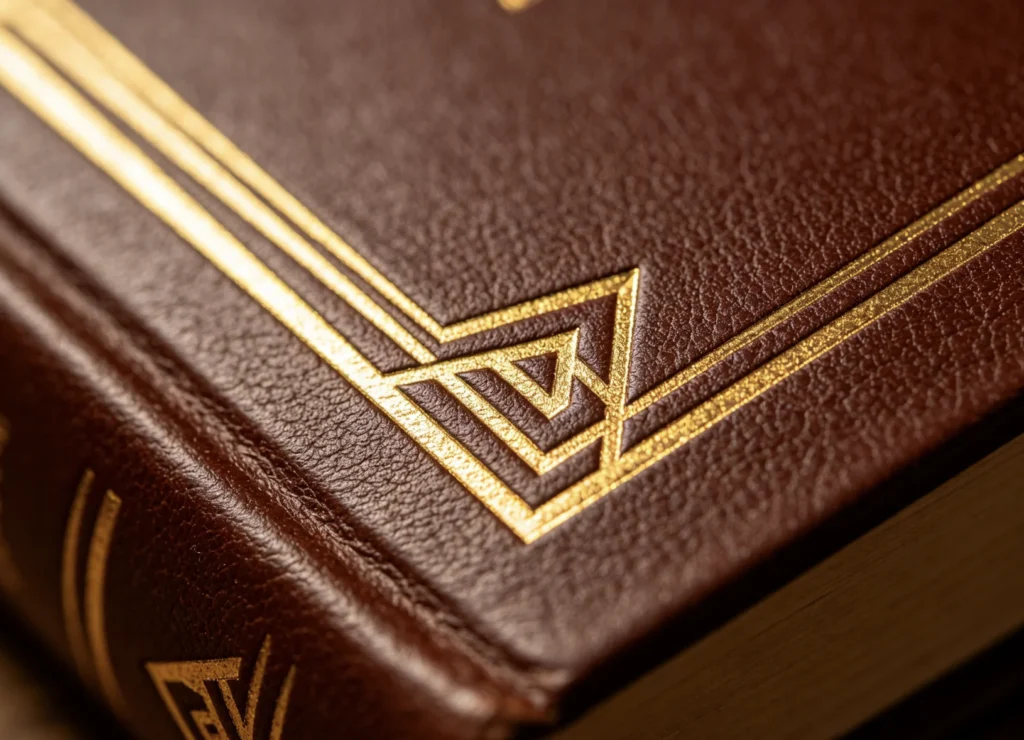
0.01mm high-precision engraving retains ultra-fine thin lines across full large leather surfaces, no blurred edges even on stretchy leather book materials.
Thick hardcover boards with leather wrap
These covers often need better support and more careful positioning because the board, wrap and hinge all affect how the die contacts the surface.
How To Prepare The Artwork
Good book cover stamping starts with good artwork.
For clean results, keep the title or logo:
simple enough for the die size
far enough from the edge and spine to allow alignment
Measure the full cover area before you design the title placement. Large leather covers often look different once the board, hinges and wrap are assembled.
2. Choose the die size
Pick a brass die that fits the title without crowding the cover. Small dies can look lost on a wide book cover. Oversized dies can become hard to register if the press is not stable.
3. Stabilize the cover
Lay the cover flat and make sure the surface is evenly supported. If the cover is already attached to the book block, make sure the hinge area is not flexing during the press.
4. Test the position
Mark the placement lightly and confirm that the title sits square to the cover. Check the top margin, side margin and distance from the spine before you heat the die.
5. Run a scrap test
Before pressing the final cover, test on a material sample from the same batch. This matters even more for leather because different batches can behave differently.
6. Stamp with controlled pressure
Apply even pressure across the full die. On large covers, uneven pressure is one of the easiest ways to get a dull or patchy transfer.
7. Check the result after cooling
Let the cover cool and inspect the foil or blind impression. If the edges are weak, do not just press harder on the final cover. First check the material, die, foil and alignment.
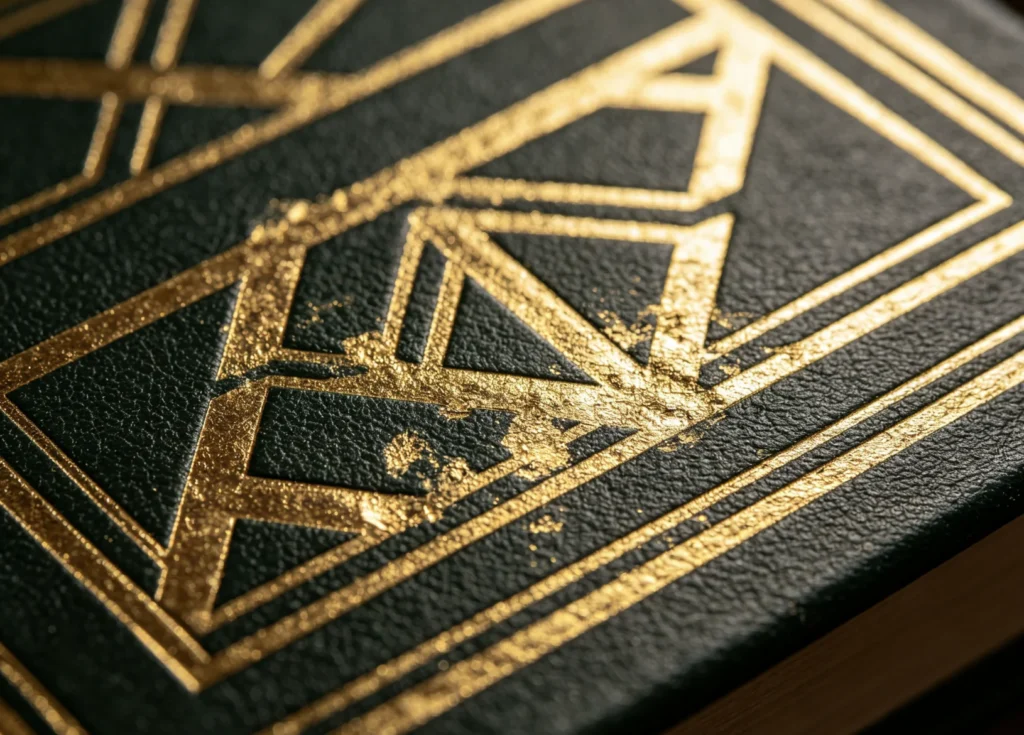
Small unpolished brass dies cannot fully contact wide leather covers, causing broken faded foil; our full-size flat CNC molds solve uneven transfer issues.
Should You Pre-Emboss First?
Sometimes yes, but not always.
If the cover needs more depth or a raised pocket for the foil to sit inside, pre-embossing can help. It is especially useful for decorative titles, premium notebooks and some bookbinding effects.
But if the cover is soft, stretchy or difficult to position, a second pass can make alignment worse. In many cases, a planned relief die is cleaner than embossing first and foiling second.
The spine area moves more than the center panel. If the title sits too close to the hinge, it may distort when the cover is wrapped or opened.
The press is too small for the cover
When the cover is wider than the active work area, pressure becomes inconsistent. This is one reason the 618-M is a better fit for large flat covers than a small desktop machine.
The design has too much solid area
Large filled shapes can trap heat and increase the chance of messy edges or foil buildup. If the logo has heavy solid zones, review the artwork before engraving the die.
That checklist saves more mistakes than trying to fix a bad cover after it is already pressed.
Common Mistakes To Avoid
Using the wrong machine size
A small hand tool is fine for tiny titles, but it is not ideal for large covers. Match the machine to the work area instead of forcing the cover into a cramped setup.
Stamping before the leather is stable
If the cover will stretch or move later, the title may not stay where you placed it. Large leather covers are especially sensitive to this problem.
Overcomplicating the artwork
Fancy artwork can look impressive on a screen and fail on a real cover. Keep the logo readable, especially if the title must work at a distance.
Ignoring the cover construction
The board, wrap, hinge and spine all change how the press lands. A cover is not just a flat sheet of material.
Not testing the real material
A test on another leather batch is not enough. Always test the actual cover material before committing to a full production run.
Häufig gestellte Fragen
What is the best machine for large leather book covers?
Can I use a manual machine for a leather book cover?
Yes, if the cover is small to medium and the title is simple. For larger covers, a manual machine can still work, but alignment and pressure balance become harder as the cover gets wider.
Should I stamp the cover before or after binding?
It depends on the construction. Some covers are easier to stamp before final assembly, while others are safer to stamp after the leather is stabilized. The key is to avoid material movement between setup and pressing.
What die should I use for a book cover title?
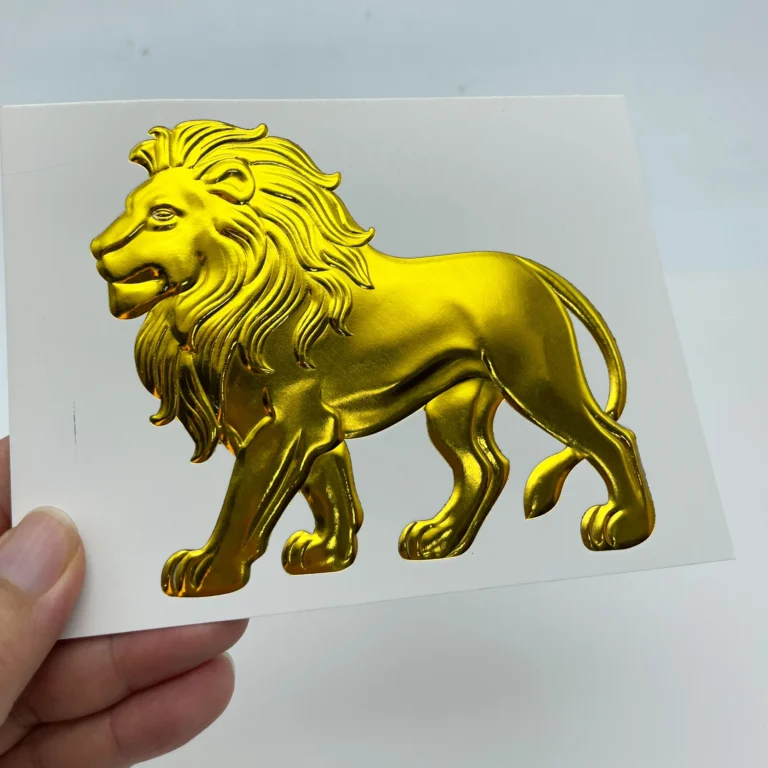
A custom brass die is usually the best choice for a fixed title or logo. If you want a more dimensional effect, a 3D relief die is better.
Yes. ZHENGFEI can make custom brass molds, 3D relief dies and matching machine recommendations based on your artwork, cover size and target effect.
Conclusion
To hot foil stamp large leather book covers successfully, start with a stable cover, a well-made die and a machine that matches the size of the job.
For smaller titles, a manual machine can be enough. For wider leather covers, a pneumatic or hydraulic press usually gives better alignment and more even pressure. If your design needs more depth, a relief die or pre-emboss workflow may be better than forcing a flat setup.
If you are unsure which route fits your cover, send your artwork, cover dimensions and material photo to ZHENGFEI. We can help you choose the right machine, die and process for a clean large leather book cover stamp.
Teilen Sie Ihre Liebe
ZHENGFEI Technical Team
ZHENGFEI Technical Team shares practical hot stamping knowledge from real production tests, including brass die design, foil stamping parameters, machine setup, leather, paper, acrylic, plastic, wood and packaging applications.






 English
 Japanese
 Spanish
 French
 Korean
 German
 Russian